> ## Documentation Index
> Fetch the complete documentation index at: https://www.ayrshare.com/docs/llms.txt
> Use this file to discover all available pages before exploring further.
# Documentation MCP
> Ayrshare के API दस्तावेज़ीकरण में खोज करने के लिए अपने AI agent से read-only Ayrshare Documentation MCP server कनेक्ट करें
यह read-only **Documentation MCP** है (यह Ayrshare के API docs में खोज करता है)। किसी AI agent को Ayrshare API को **चलाने** देने के लिए, [MCP Server](/additional/mcp-action-server) (Action MCP) देखें।
Model Context Protocol (MCP) एक open standard है जो applications को Large Language Models (LLMs) के साथ context और tools साझा करने में सक्षम बनाता है।
Ayrshare API documentation MCP server को Cursor या Claude Desktop जैसे अपने AI development tools से कनेक्ट करके, आप अपने AI agent को Ayrshare के दस्तावेज़ीकरण तक सीधी पहुँच दे सकते हैं।
यह इंटीग्रेशन आपके AI agent को अनुमति देता है:
- Ayrshare के API दस्तावेज़ीकरण के माध्यम से खोज करना
- उपलब्ध endpoints और parameters को समझना
- ऐसा कोड उत्पन्न करना जो Ayrshare के APIs का सही उपयोग करे
- Ayrshare services के साथ काम करते समय संदर्भ के अनुसार सटीक सुझाव प्रदान करना
इसका मतलब है कि API विवरणों को मैन्युअल रूप से देखने के बजाय, आपका AI सहायक सीधे दस्तावेज़ीकरण को संदर्भित कर सकता है और अधिक कुशलता से Ayrshare कार्यक्षमता को लागू करने में आपकी मदद कर सकता है।
## शुरू कैसे करें
Ayrshare का MCP server `https://www.ayrshare.com/docs/mcp` पर उपलब्ध है।
### Claude Desktop
1. Claude settings में Connectors पृष्ठ पर जाएँ।
2. Add custom connector चुनें।
3. अपने MCP server name के रूप में `Ayrshare MCP` या कोई भी नाम जोड़ें जो आपको पसंद हो और अपने MCP server URL के रूप में `https://www.ayrshare.com/docs/mcp` जोड़ें।
4. Add चुनें।
5. Claude का उपयोग करते समय, attachments button (plus icon) चुनें।
6. अपना MCP server चुनें।
### Claude Code
```bash theme={"system"}
claude mcp add --transport http ayrshare https://www.ayrshare.com/docs/mcp
```
### VS Code
[](https://insiders.vscode.dev/redirect?url=vscode:mcp/install?%7B%22type%22%3A%22http%22%2C%22name%22%3A%22Ayrshare-MCP%22%2C%22url%22%3A%22https%3A%2F%2Fwww.ayrshare.com%2Fdocs%2Fmcp%22%7D)
1. एक .vscode/mcp.json फ़ाइल बनाएँ।
2. mcp.json में, अपना server कॉन्फ़िगर करें:
```json theme={"system"}
{
"servers": {
"Ayrshare MCP": {
"type": "http",
"url": "https://www.ayrshare.com/docs/mcp"
}
}
}
```
### Cursor
[](cursor://anysphere.cursor-deeplink/mcp/install?name=Ayrshare-MCP\&config=eyJ1cmwiOiJodHRwczovL3d3dy5heXJzaGFyZS5jb20vZG9jcy9tY3AifQ==)
1. command palette खोलने के लिए Command + Shift + P (Windows पर Ctrl + Shift + P) का उपयोग करें।
2. "Open MCP settings" खोजें।
3. Add custom MCP चुनें। यह mcp.json फ़ाइल खोलता है।
4. mcp.json में, अपना server कॉन्फ़िगर करें:
```json theme={"system"}
{
"mcpServers": {
"Ayrshare MCP": {
"url": "https://www.ayrshare.com/docs/mcp"
}
}
}
```
## MCP Server Connection का उपयोग करना
परिवर्तनों को लागू करने के लिए ऐप को पुनरारंभ करें।
Cursor में, आप `How do you publish a post in Ayrshare. Use the MCP server.` टाइप करके MCP connector का परीक्षण कर सकते हैं।
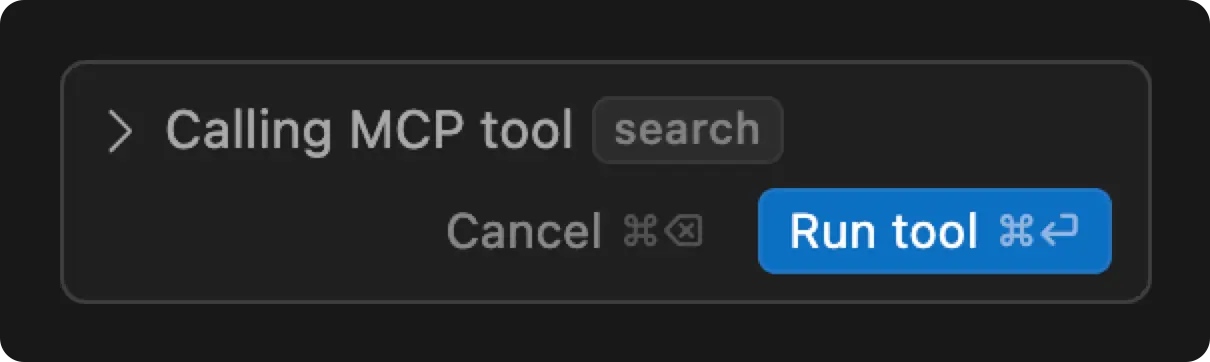 आप "Run tool" का request देखेंगे और Cursor response पाने के लिए MCP server तक पहुँचेगा।