> ## Documentation Index
> Fetch the complete documentation index at: https://www.ayrshare.com/docs/llms.txt
> Use this file to discover all available pages before exploring further.
# Documentation MCP
> 読み取り専用の Ayrshare Documentation MCP サーバーを AI エージェントに接続し、Ayrshare の API ドキュメントを検索できるようにします
これは読み取り専用の **Documentation MCP** です(Ayrshare の API ドキュメントを検索します)。AI エージェントに Ayrshare API を **駆動** させたい場合は、[MCP Server](/additional/mcp-action-server)(Action MCP)を参照してください。
Model Context Protocol (MCP) は、アプリケーションが大規模言語モデル (LLM) とコンテキストやツールを共有できるようにするオープンスタンダードです。
Ayrshare API ドキュメント MCP サーバーを Cursor や Claude Desktop などの AI 開発ツールに接続することで、AI エージェントに Ayrshare のドキュメントへの直接アクセスを提供できます。
この統合により、AI エージェントは次のことが可能になります:
- Ayrshare の API ドキュメントを検索する
- 利用可能なエンドポイントとパラメーターを理解する
- Ayrshare の API を正しく使用するコードを生成する
- Ayrshare のサービスを扱う際に、文脈に沿った正確な提案を提供する
つまり、API の詳細を手動で調べる代わりに、AI アシスタントがドキュメントを直接参照して、より効率的に Ayrshare 機能を実装する手助けをしてくれます。
## 開始方法
Ayrshare の MCP サーバーは `https://www.ayrshare.com/docs/mcp` で利用できます。
### Claude Desktop
1. Claude 設定の Connectors ページに移動します。
2. Add custom connector を選択します。
3. MCP サーバー名として `Ayrshare MCP`(または任意の名前)を、MCP サーバー URL として `https://www.ayrshare.com/docs/mcp` を追加します。
4. Add を選択します。
5. Claude を使用する際、添付ファイルボタン(プラスアイコン)を選択します。
6. 追加した MCP サーバーを選択します。
### Claude Code
```bash theme={"system"}
claude mcp add --transport http ayrshare https://www.ayrshare.com/docs/mcp
```
### VS Code
[](https://insiders.vscode.dev/redirect?url=vscode:mcp/install?%7B%22type%22%3A%22http%22%2C%22name%22%3A%22Ayrshare-MCP%22%2C%22url%22%3A%22https%3A%2F%2Fwww.ayrshare.com%2Fdocs%2Fmcp%22%7D)
1. .vscode/mcp.json ファイルを作成します。
2. mcp.json でサーバーを設定します:
```json theme={"system"}
{
"servers": {
"Ayrshare MCP": {
"type": "http",
"url": "https://www.ayrshare.com/docs/mcp"
}
}
}
```
### Cursor
[](cursor://anysphere.cursor-deeplink/mcp/install?name=Ayrshare-MCP\&config=eyJ1cmwiOiJodHRwczovL3d3dy5heXJzaGFyZS5jb20vZG9jcy9tY3AifQ==)
1. Command + Shift + P(Windows では Ctrl + Shift + P)でコマンドパレットを開きます。
2. 「Open MCP settings」を検索します。
3. Add custom MCP を選択します。mcp.json ファイルが開きます。
4. mcp.json でサーバーを設定します:
```json theme={"system"}
{
"mcpServers": {
"Ayrshare MCP": {
"url": "https://www.ayrshare.com/docs/mcp"
}
}
}
```
## MCP サーバー接続の使用
変更を適用するため、アプリを再起動します。
Cursor では、`How do you publish a post in Ayrshare. Use the MCP server.` と入力して MCP コネクターをテストできます。
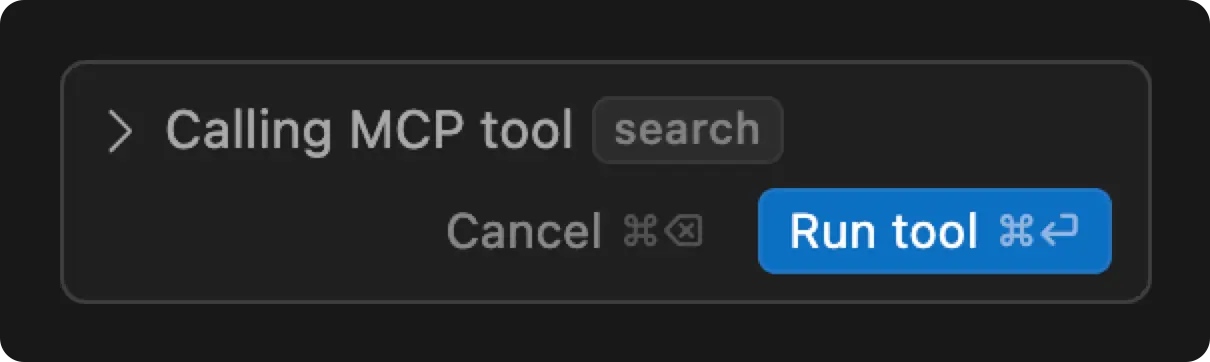 「Run tool」のリクエストが表示され、Cursor は MCP サーバーにアクセスしてレスポンスを取得します。