> ## Documentation Index
> Fetch the complete documentation index at: https://www.ayrshare.com/docs/llms.txt
> Use this file to discover all available pages before exploring further.
# X 連携
> Ayrshare で X を認可する
**2026 年 3 月 31 日より**、X は Ayrshare を介したすべての操作について、独自の API クレデンシャルを必要とします。API ユーザーであれば、独自のクレデンシャルの使用をすぐに開始できます。ステップごとの手順については、[X BYO Key Setup Guide](/dashboard/connect-social-accounts/x-twitter-byo-keys) を参照してください。
## Ayrshare と X (Twitter) を連携する方法
以前は Twitter として知られていた X アカウントを Ayrshare とリンクできます。
Ayrshare で X を認可する際、X にリダイレクトされてログインし、Ayrshare が X アカウントにアクセスすることを認可します。
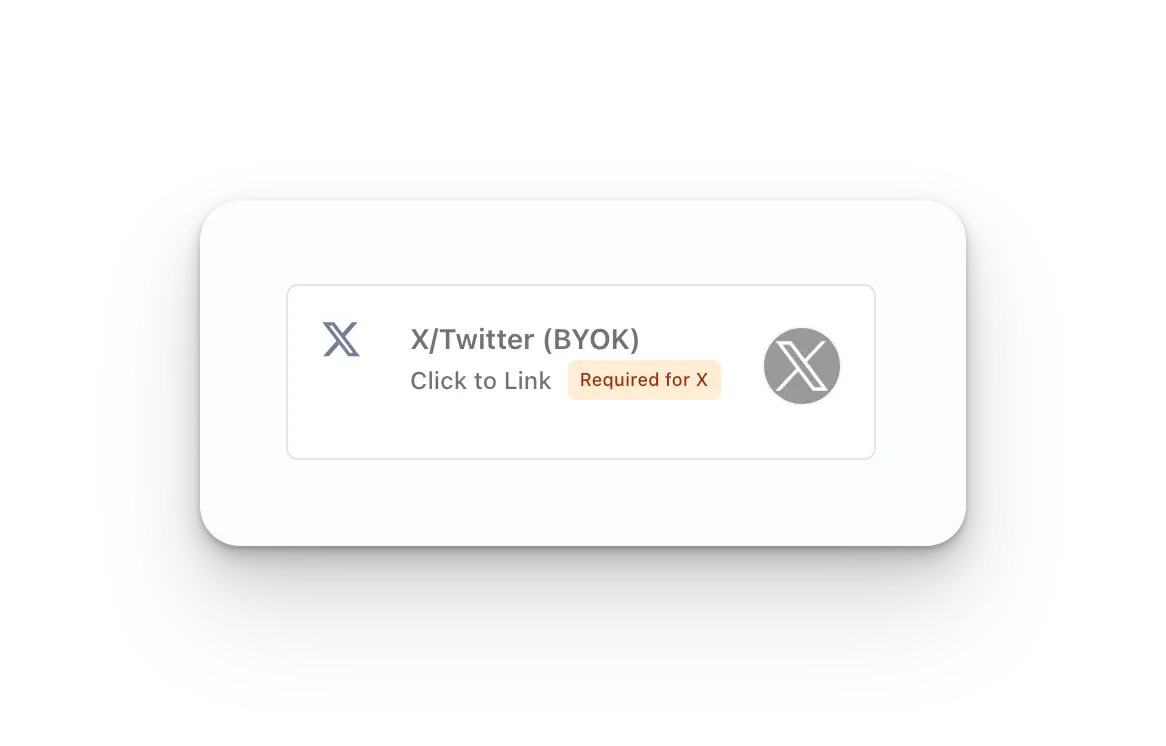
Social Accounts ページで **X/Twitter - Click to Link** ボタンをクリックします。
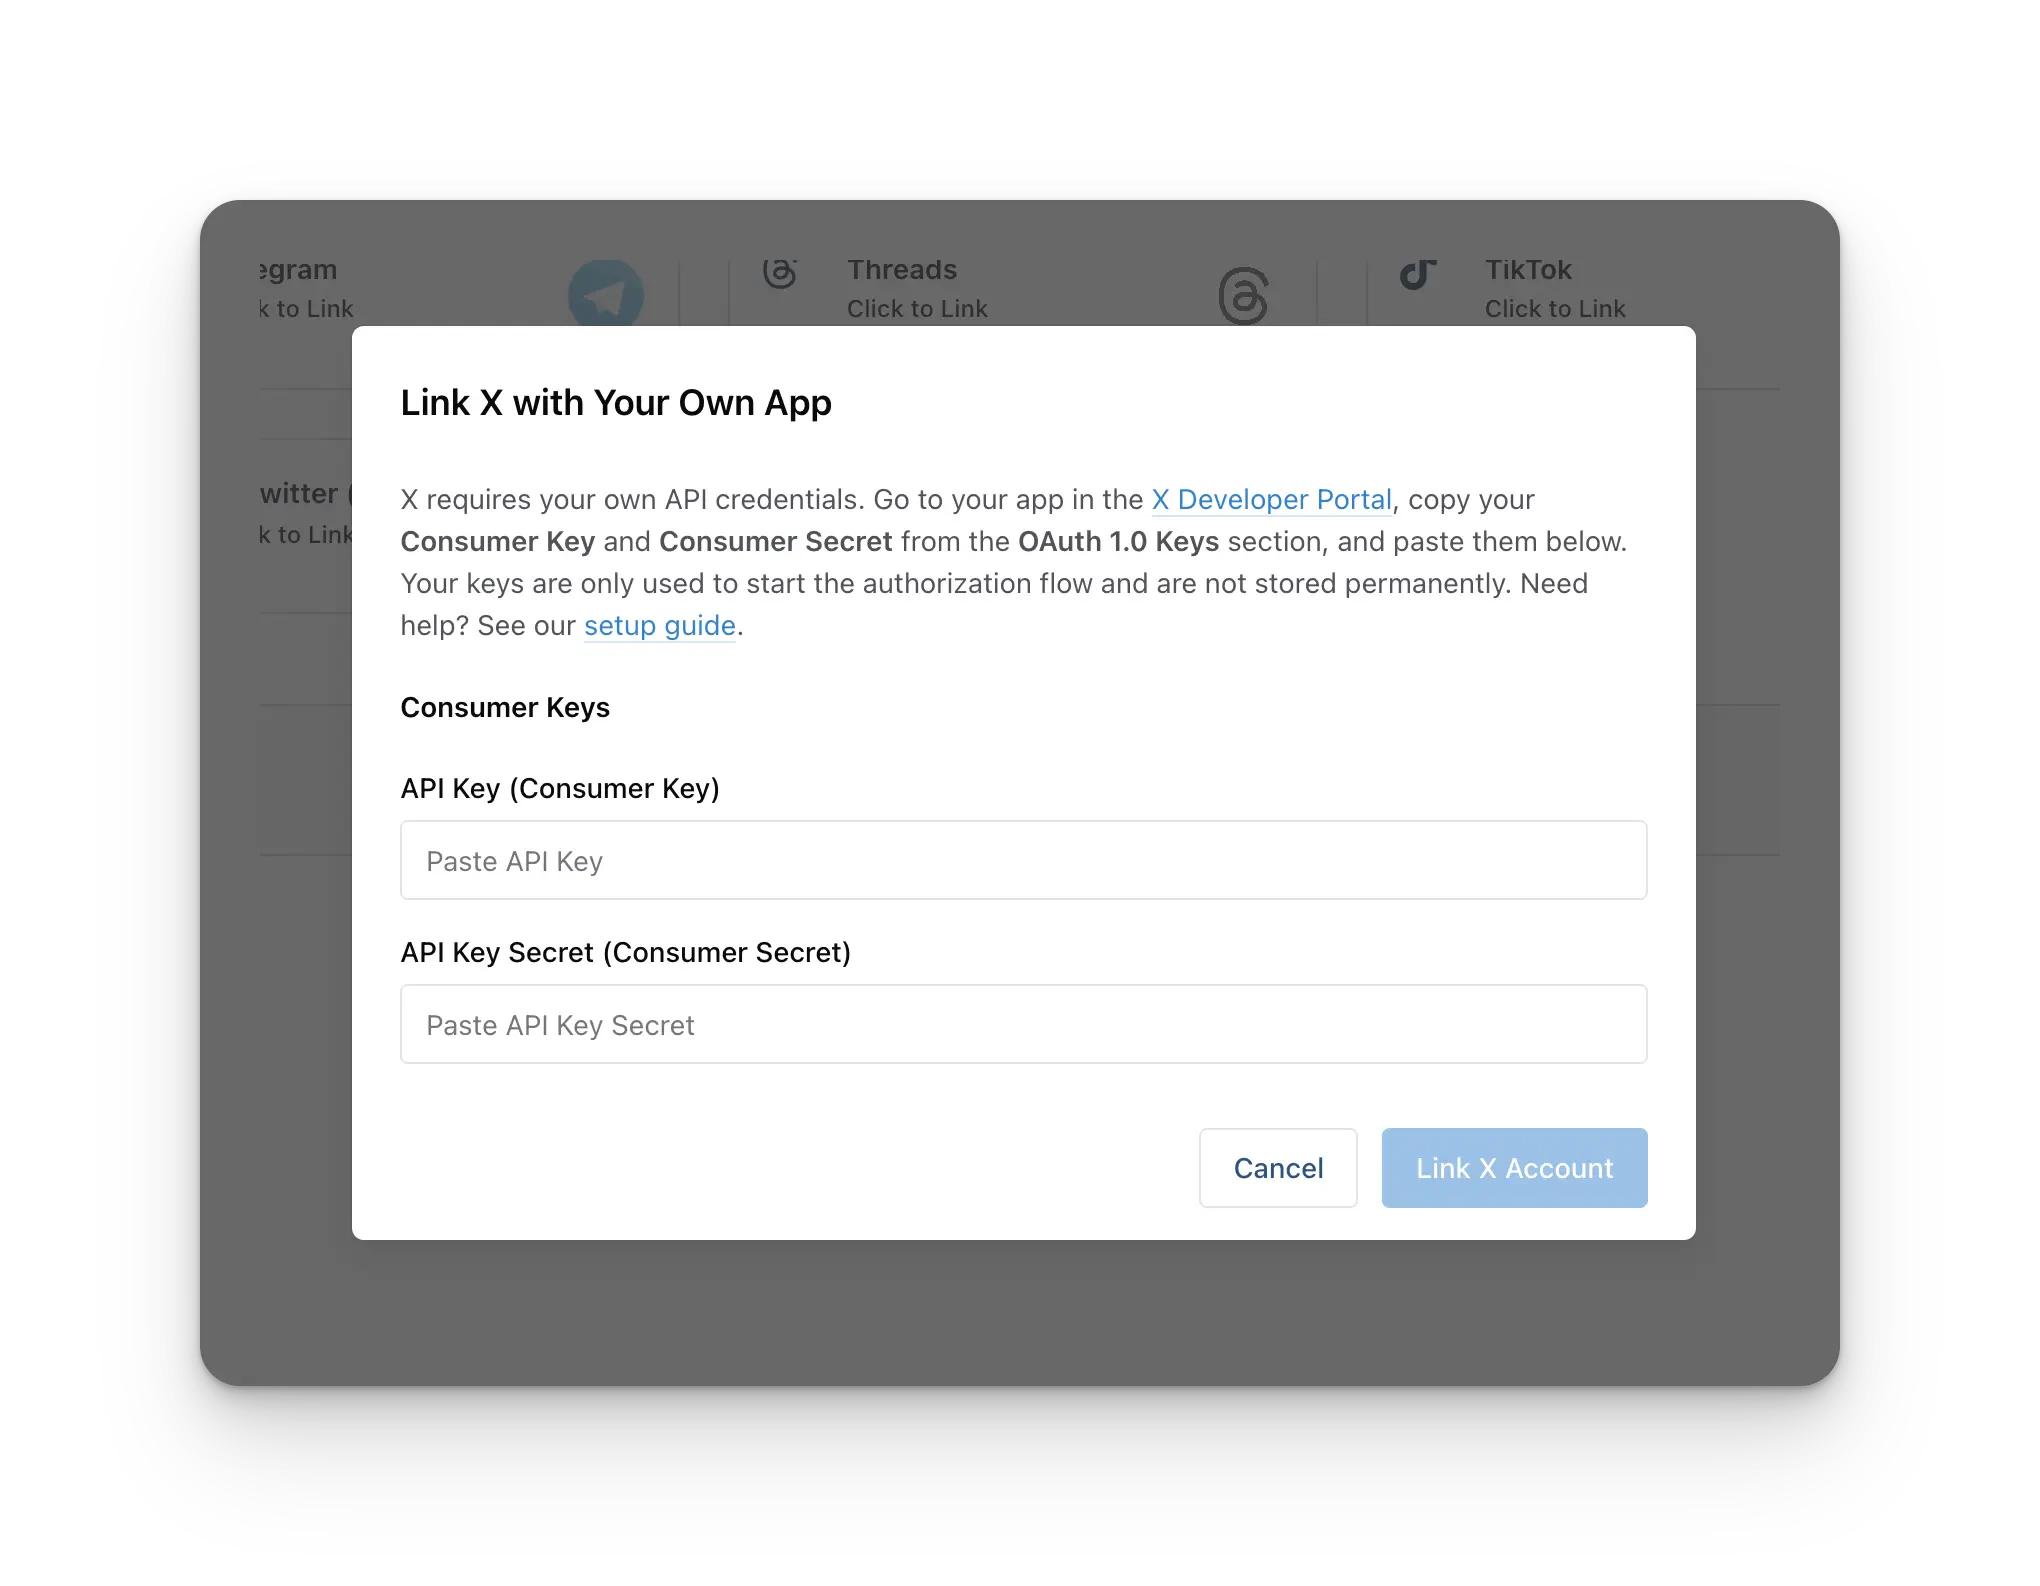
 リンクする前に、**X Consumer Key** (API Key) と **X Consumer Secret** (API Secret) を入力するよう求められます。X は現在、X アカウントをリンクするために、すべての Ayrshare アカウントで X Developer App を 1 つ登録し、その API Key と API Secret を提供することを要求しています。
**Ayrshare アカウントごとに 1 回限りのセットアップ。** X Developer App を **1 回** 作成し、同じ API Key と API Secret が、今後リンクするすべての X アカウントに対して使用されます(サブプロファイルやエンドユーザーを含む)。顧客ごとに別々の Developer App を作成する必要は **ありません**。
まだこれらのクレデンシャルをお持ちでない場合は、[X BYO Key Setup Guide](/dashboard/connect-social-accounts/x-twitter-byo-keys) に従って X Developer App を作成し、API Key と API Secret を取得してください。両方の値をモーダルに貼り付けて、アカウントのリンクに進んでください。
リンクする前に、**X Consumer Key** (API Key) と **X Consumer Secret** (API Secret) を入力するよう求められます。X は現在、X アカウントをリンクするために、すべての Ayrshare アカウントで X Developer App を 1 つ登録し、その API Key と API Secret を提供することを要求しています。
**Ayrshare アカウントごとに 1 回限りのセットアップ。** X Developer App を **1 回** 作成し、同じ API Key と API Secret が、今後リンクするすべての X アカウントに対して使用されます(サブプロファイルやエンドユーザーを含む)。顧客ごとに別々の Developer App を作成する必要は **ありません**。
まだこれらのクレデンシャルをお持ちでない場合は、[X BYO Key Setup Guide](/dashboard/connect-social-accounts/x-twitter-byo-keys) に従って X Developer App を作成し、API Key と API Secret を取得してください。両方の値をモーダルに貼り付けて、アカウントのリンクに進んでください。
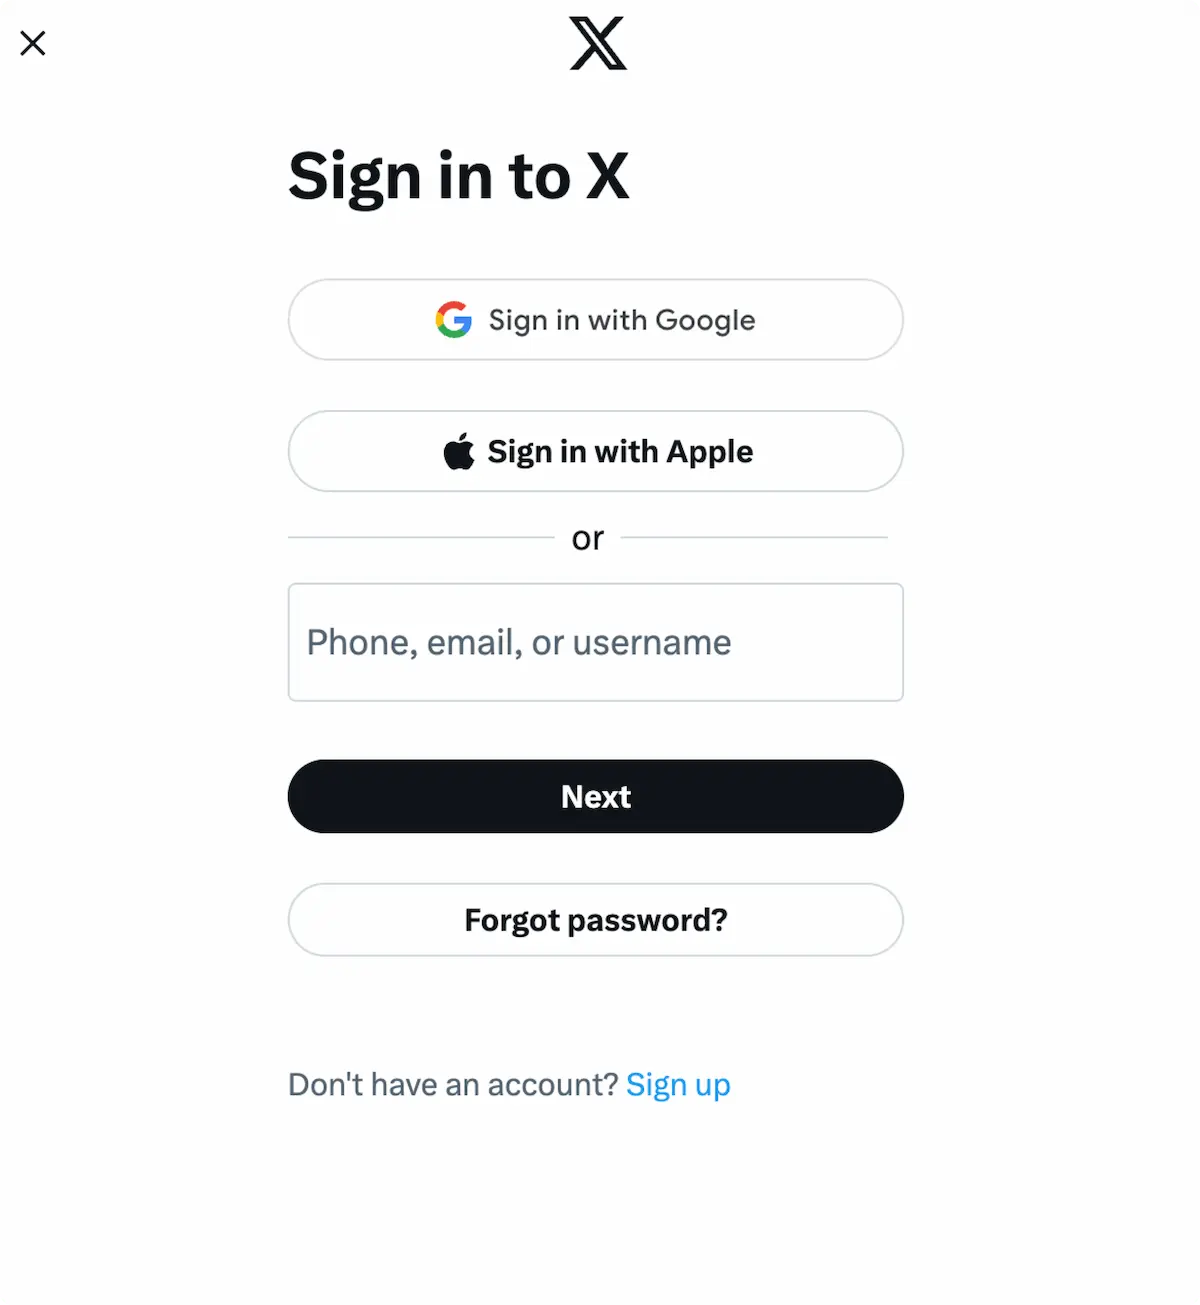
 Social Accounts ページで X アイコンをクリックすると、X のサインインがポップアップします — *ポップアップを許可していることを確認してください*。すでにログイン済みの場合は、次のステップに進んでください。
*Sign In* をクリックし、指示に従い、関連するログイン認証情報を入力します。
Social Accounts ページで X アイコンをクリックすると、X のサインインがポップアップします — *ポップアップを許可していることを確認してください*。すでにログイン済みの場合は、次のステップに進んでください。
*Sign In* をクリックし、指示に従い、関連するログイン認証情報を入力します。
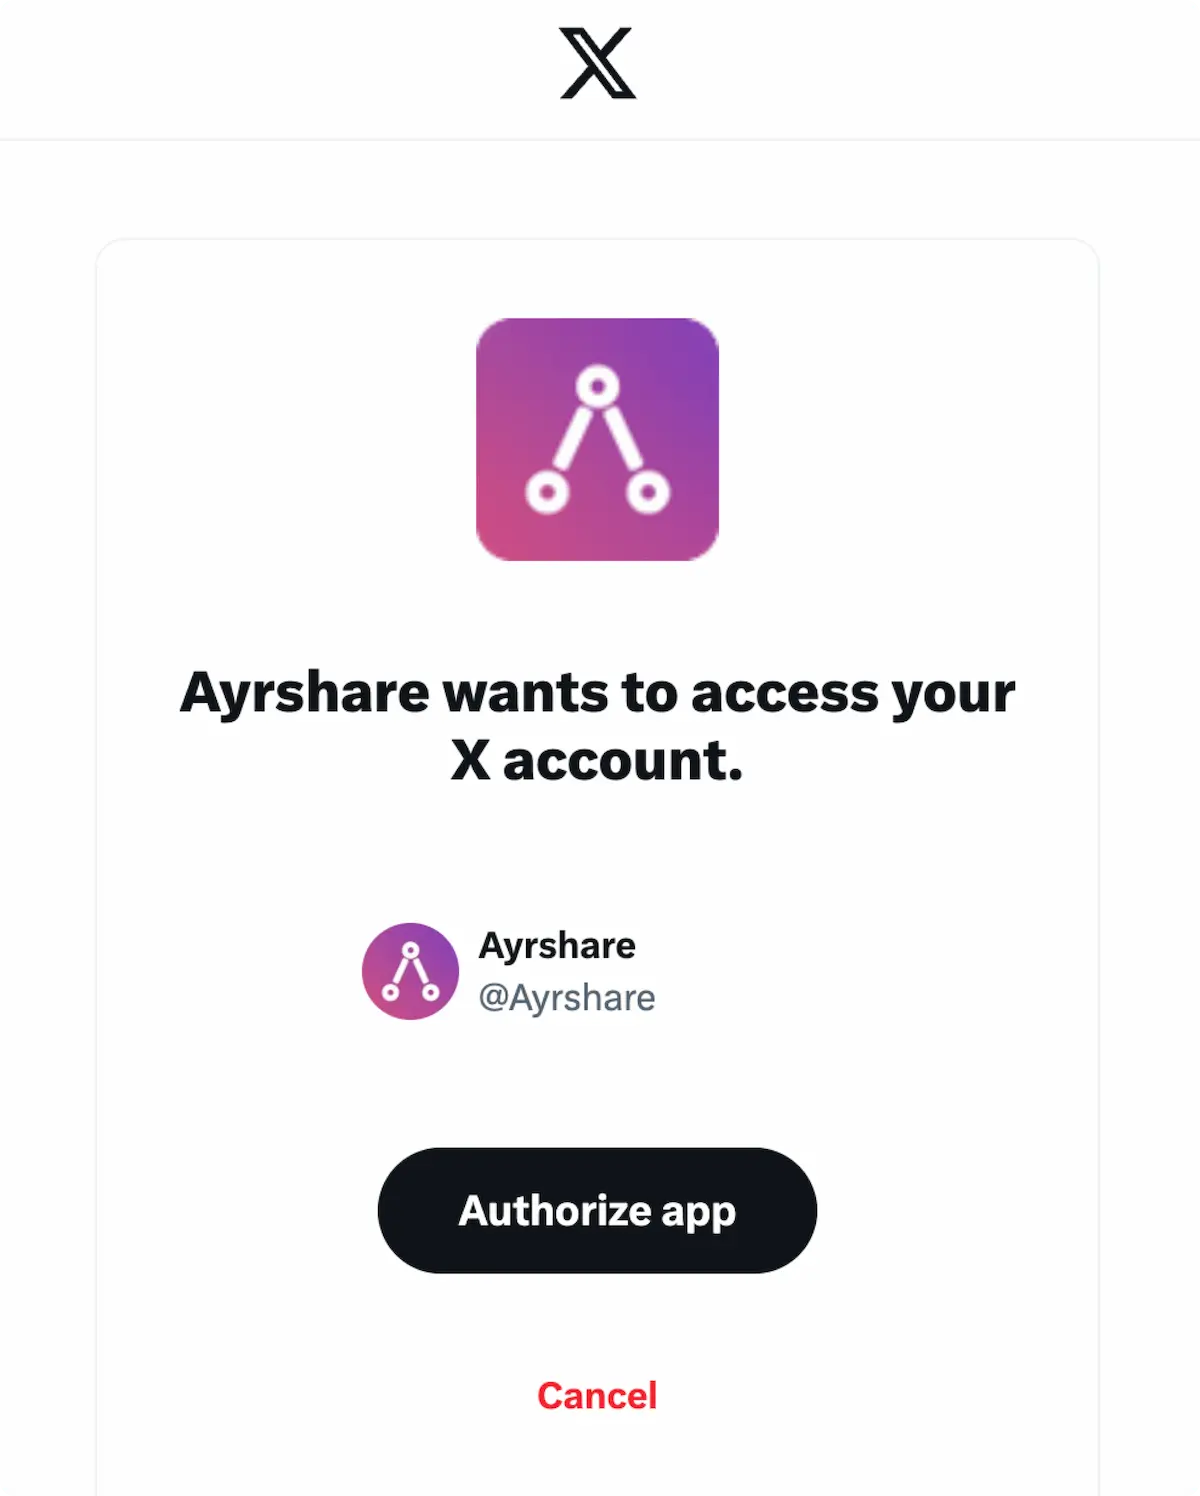
 すでにサインインしている場合は、ポップアップで **Authorize app** をクリックします。
これにより、Ayrshare が X アカウントにアクセスすることが認可されます。
すでにサインインしている場合は、ポップアップで **Authorize app** をクリックします。
これにより、Ayrshare が X アカウントにアクセスすることが認可されます。
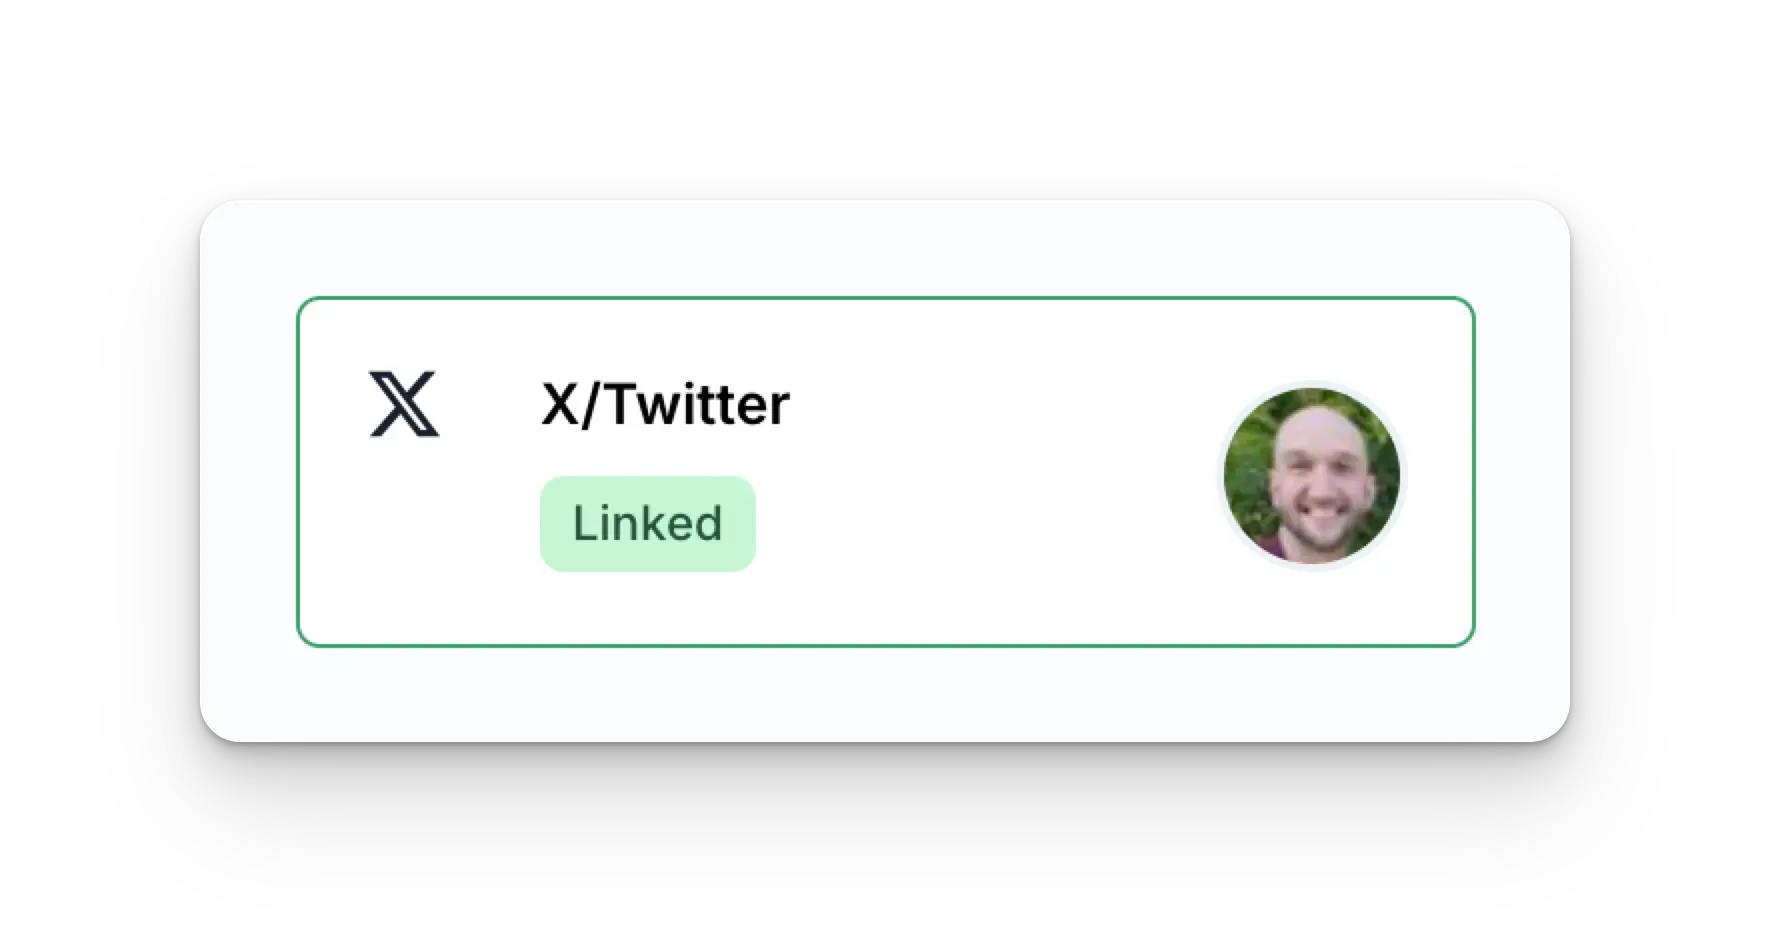
 Social Accounts ページが X アカウントで更新されます。
 ## X に関するその他の情報
* 詳細については、こちらを参照してください:
[X への投稿](/apis/post/social-networks/x-twitter)、
[アナリティクスの取得](/apis/analytics/overview)、
[コメントの管理](/apis/comments/overview)、
[履歴の取得](/apis/history/overview)。
* 推奨される画像サイズの詳細については、こちらを参照してください:
## X に関するその他の情報
* 詳細については、こちらを参照してください:
[X への投稿](/apis/post/social-networks/x-twitter)、
[アナリティクスの取得](/apis/analytics/overview)、
[コメントの管理](/apis/comments/overview)、
[履歴の取得](/apis/history/overview)。
* 推奨される画像サイズの詳細については、こちらを参照してください: