> ## Documentation Index
> Fetch the complete documentation index at: https://www.ayrshare.com/docs/llms.txt
> Use this file to discover all available pages before exploring further.
# Liên kết Instagram
> Uỷ quyền Instagram với Ayrshare
## Cách liên kết Instagram
Sau đây là hướng dẫn liên kết Instagram. Có hai cách để liên kết Instagram:
1. [Liên kết trực tiếp tài khoản Instagram với Ayrshare.](#linking-instagram-directly)
2. [Liên kết tài khoản Instagram với Ayrshare thông qua một Facebook Page.](#linking-instagram-through-facebook-facebook-page-required)
Tuỳ chọn 1 là mặc định. Nếu bạn thích tuỳ chọn 2, trong cài đặt dashboard, hãy tắt [Instagram Login](/multiple-users/manage-user-profiles#instagram-login) để sử dụng luồng xác thực yêu cầu một Facebook Page được liên kết với tài khoản Instagram.
Instagram không hỗ trợ tài khoản Facebook cá nhân, tài khoản Creator Studio và đăng bài lên IGTV.
[Xem bên dưới](/dashboard/connect-social-accounts/instagram#enabling-an-instagram-business-or-creator-account) để biết chi tiết.
### Liên kết Instagram trực tiếp
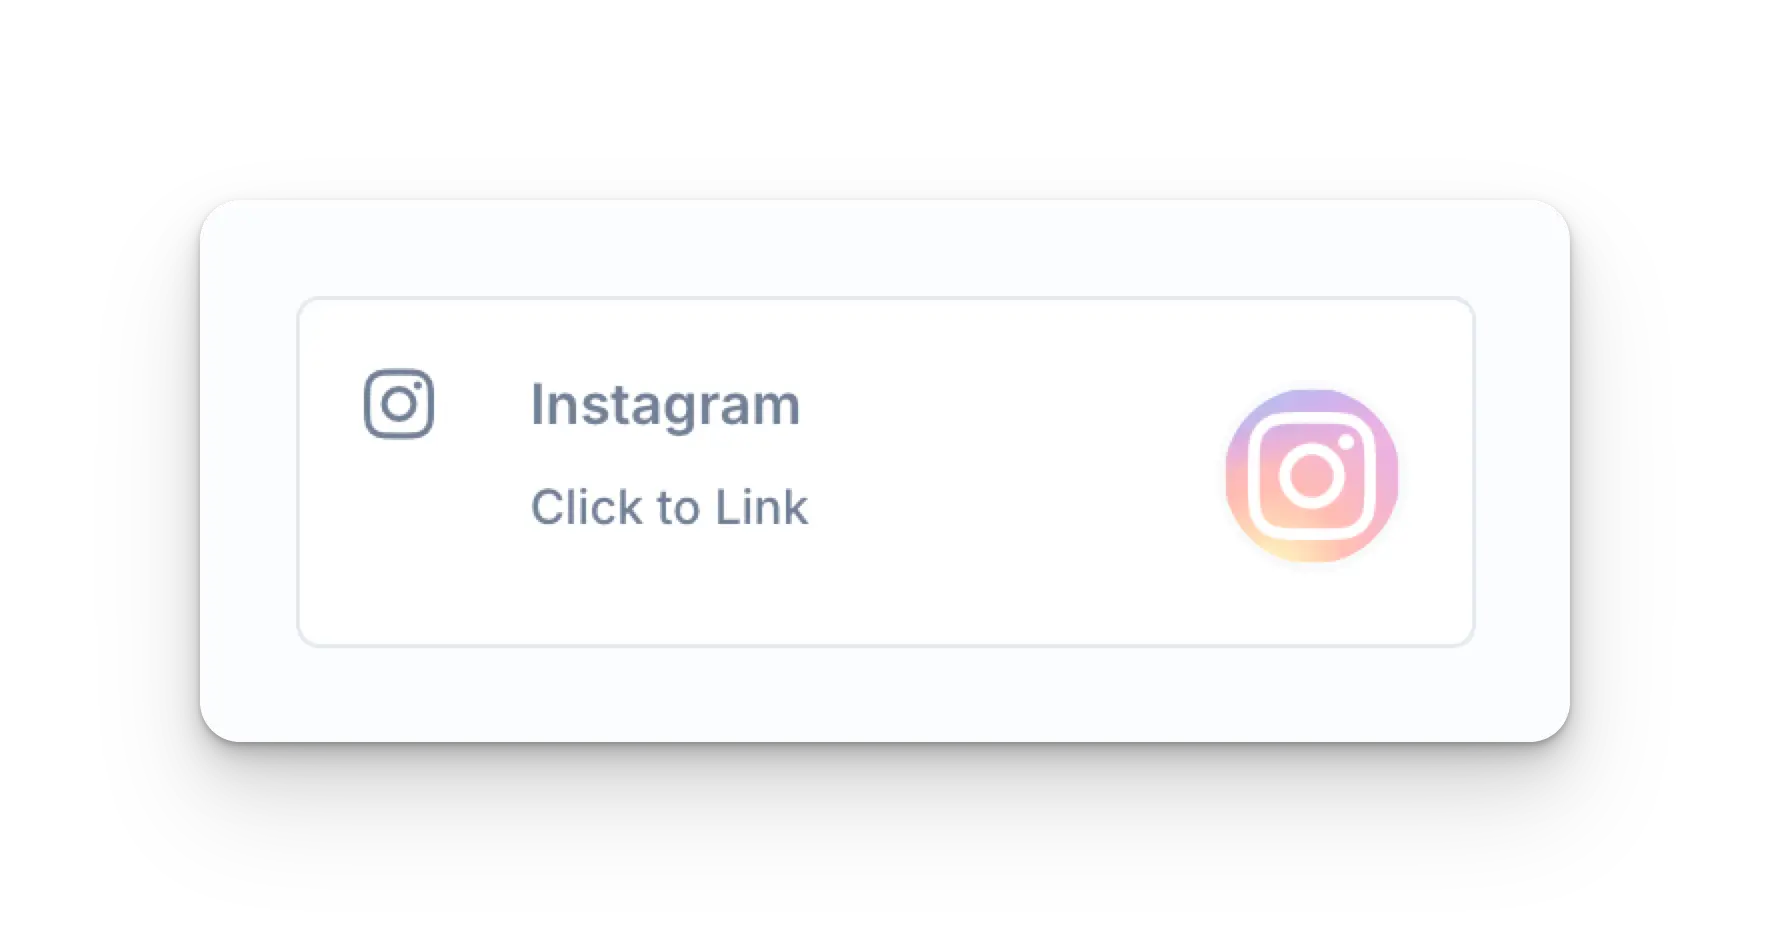
Nhấp vào biểu tượng Instagram trên trang Social Accounts.
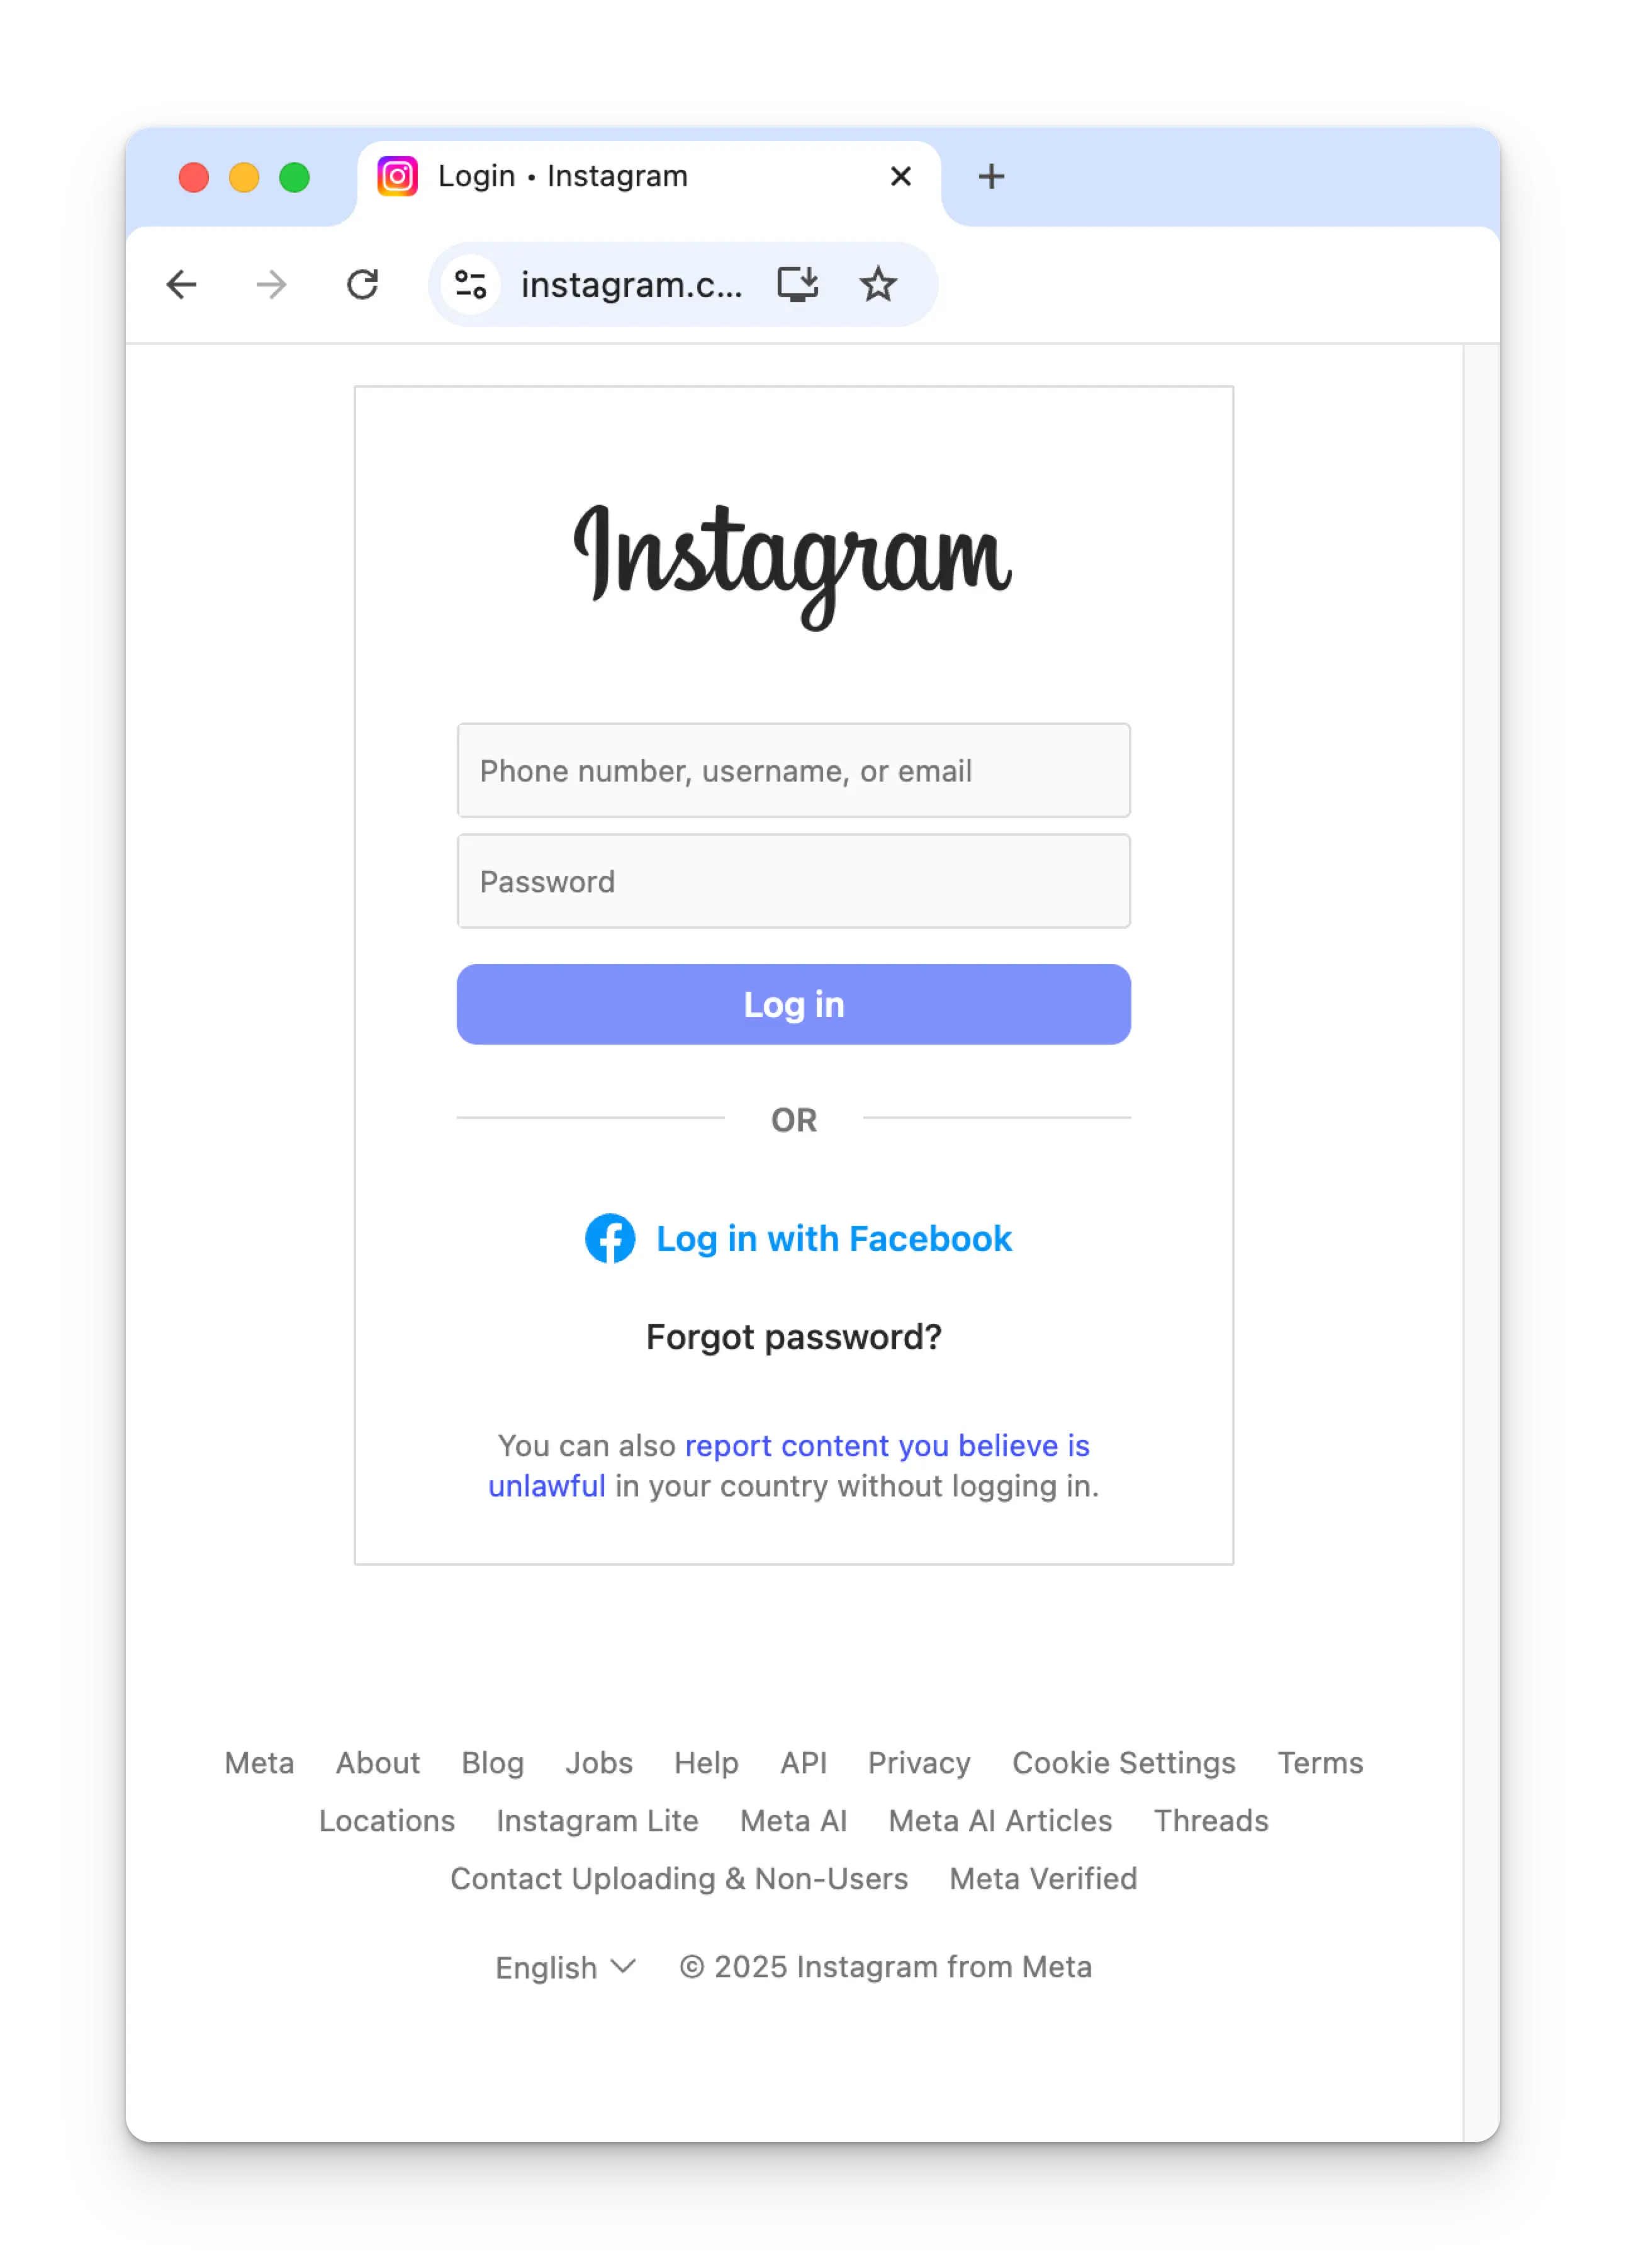
 Nhập thông tin đăng nhập và nhấp **Log in**.
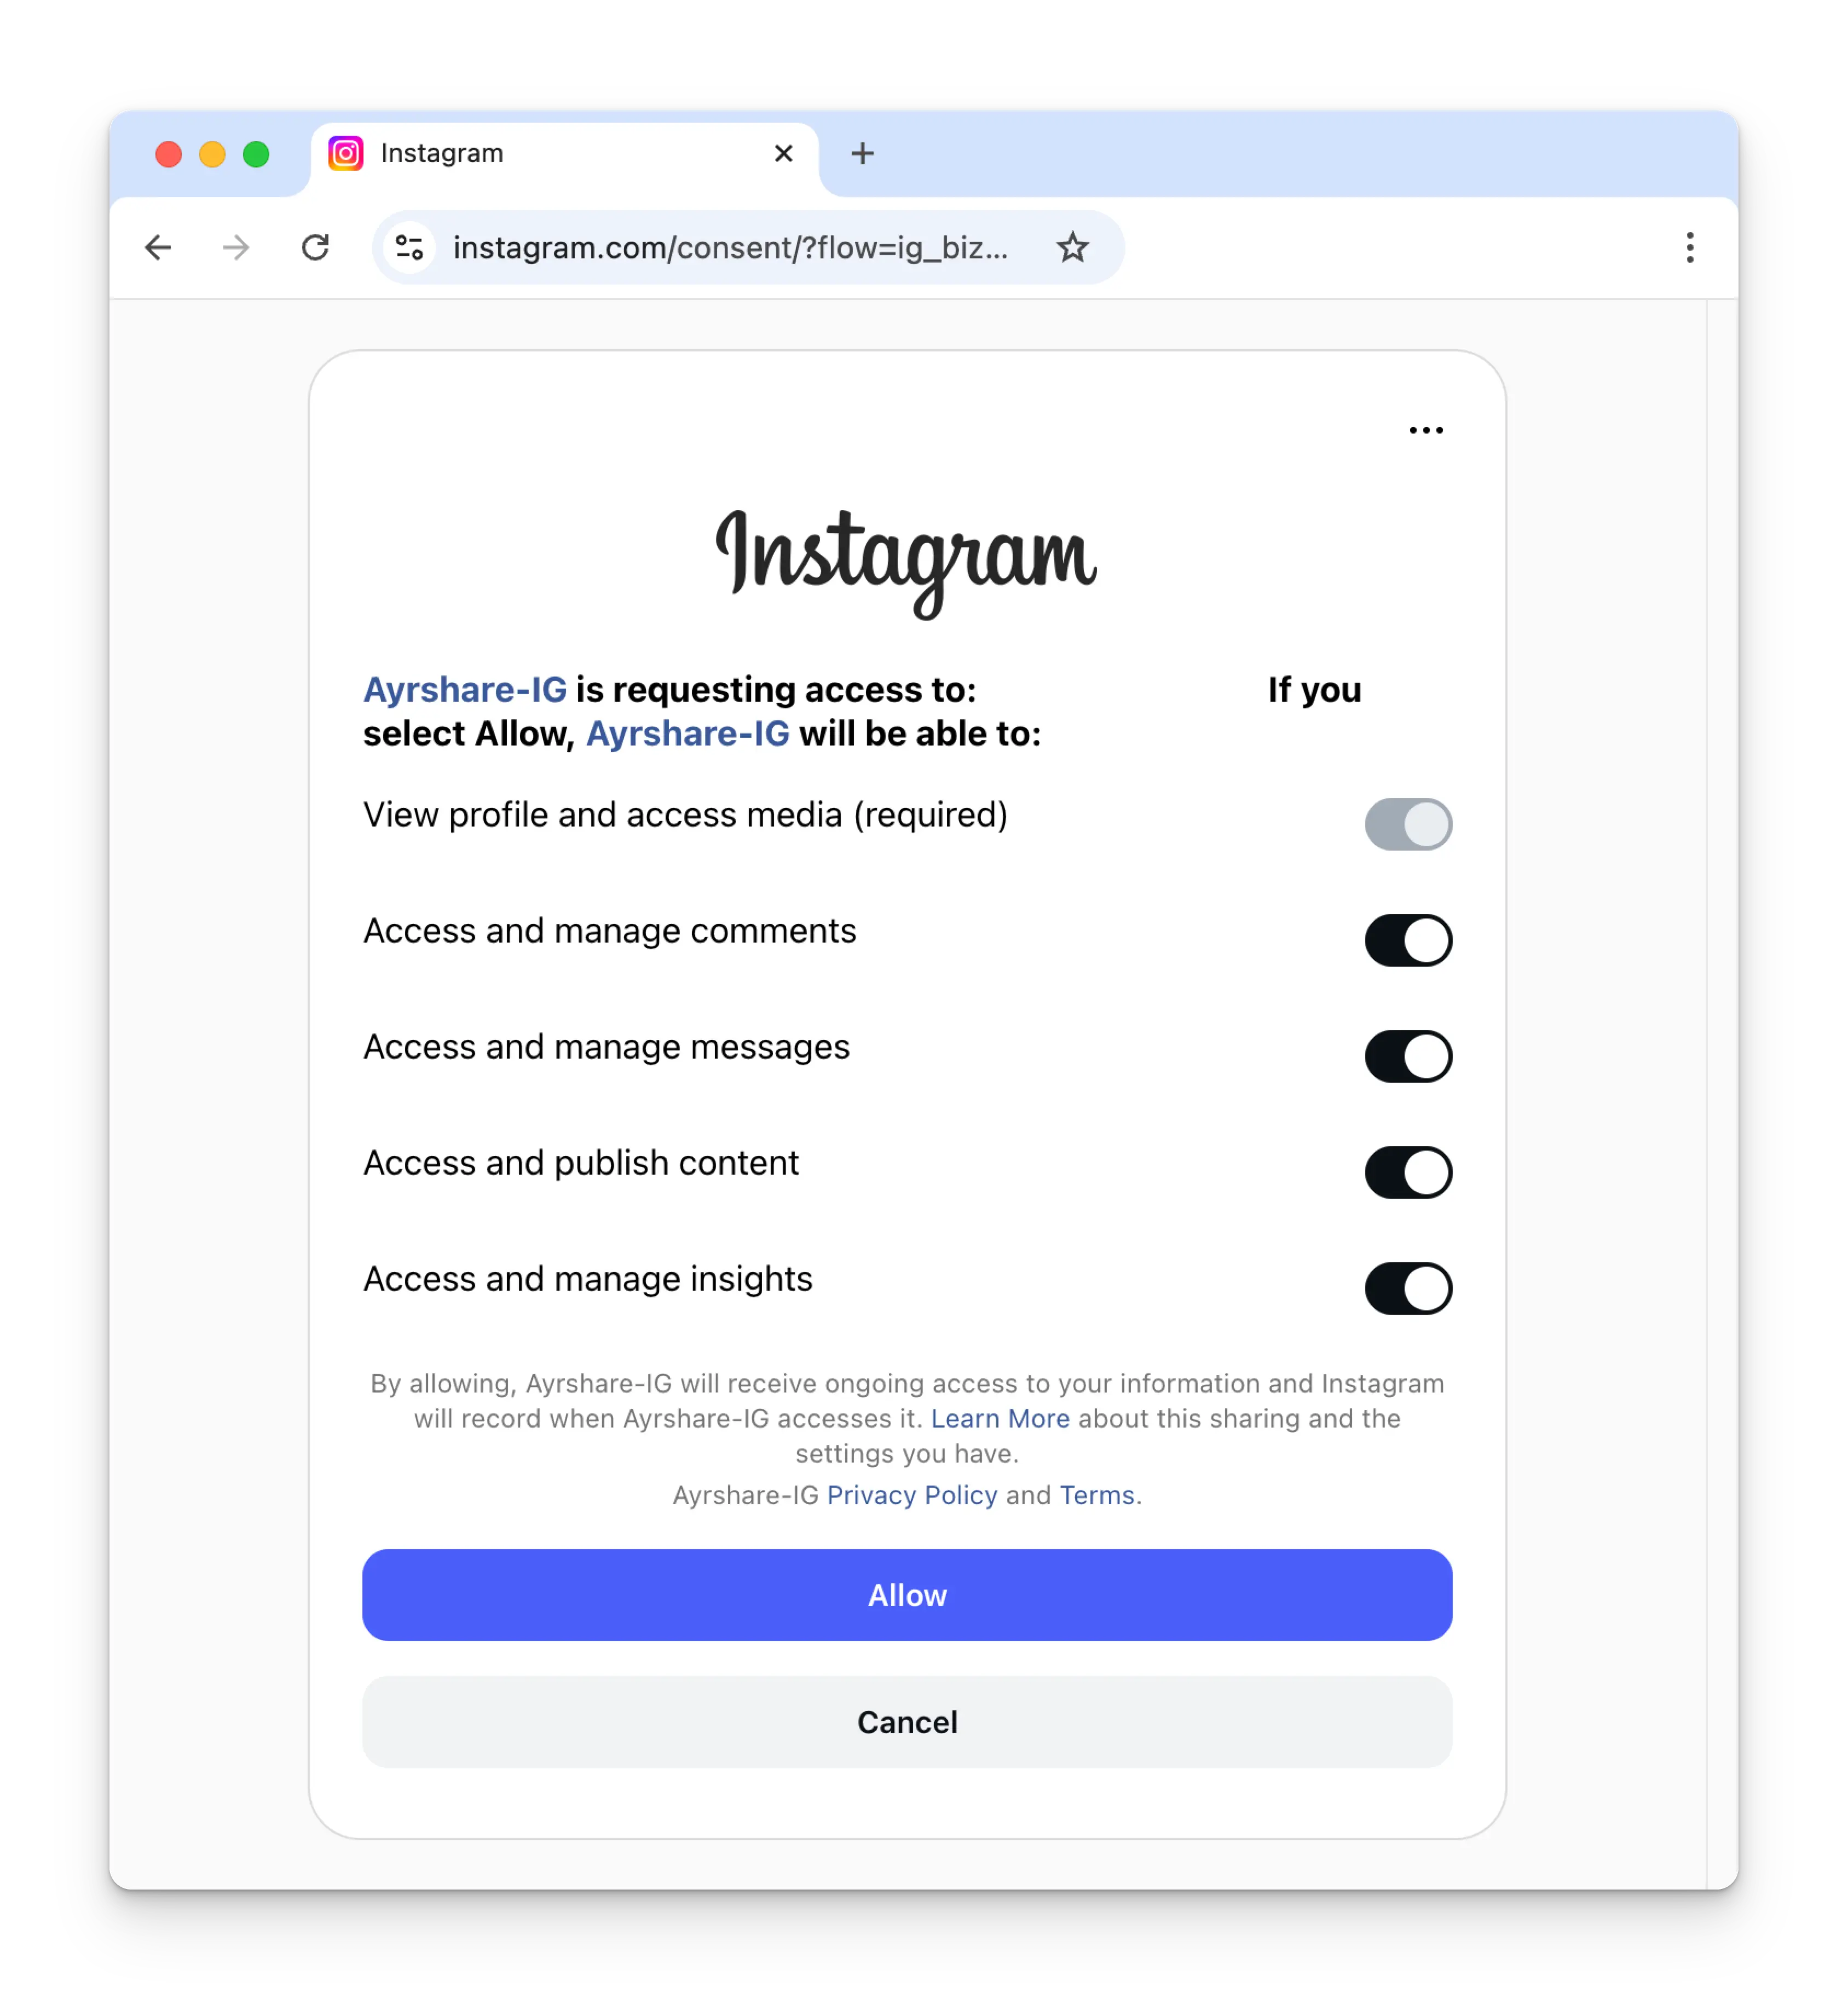
 Bật tất cả các quyền cho Instagram và nhấp **Allow**.
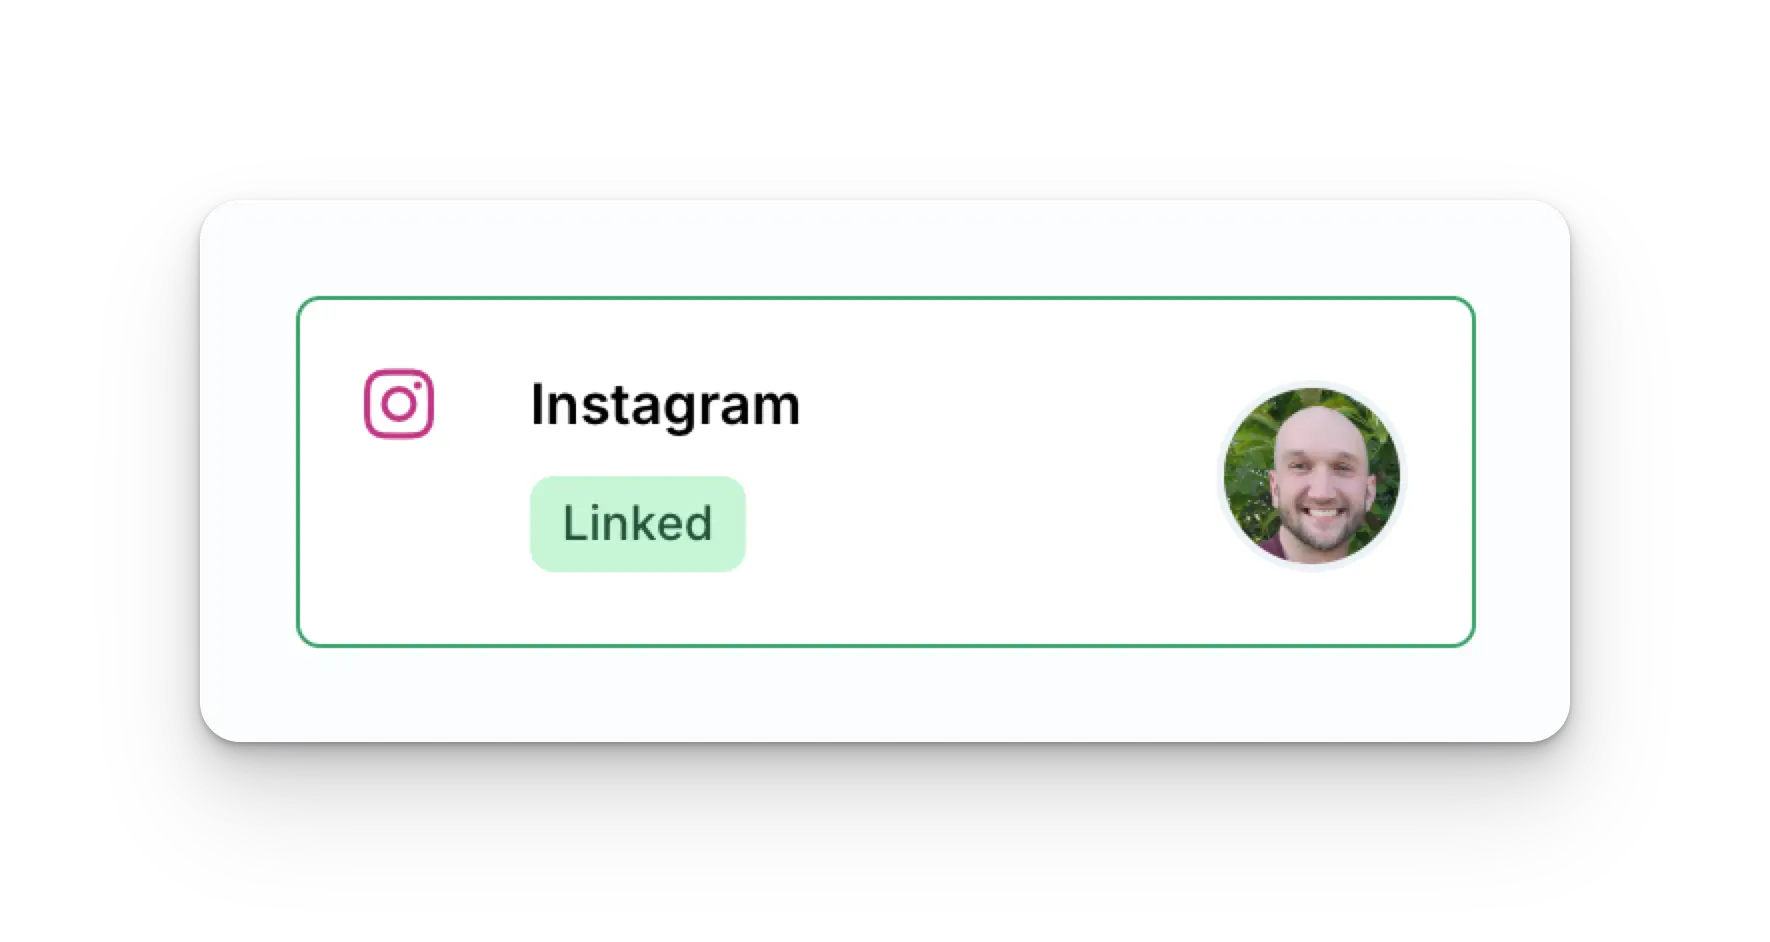
 Trang Social Accounts của bạn giờ đã được cập nhật với tài khoản Instagram.
 ### Liên kết Instagram thông qua Facebook (yêu cầu Facebook Page)
Hãy chắc chắn bạn là admin của Facebook Page và **cấp toàn bộ quyền** cho
Pages, tài khoản Instagram và các lựa chọn. Việc không làm như vậy
có thể khiến bài đăng không thành công.
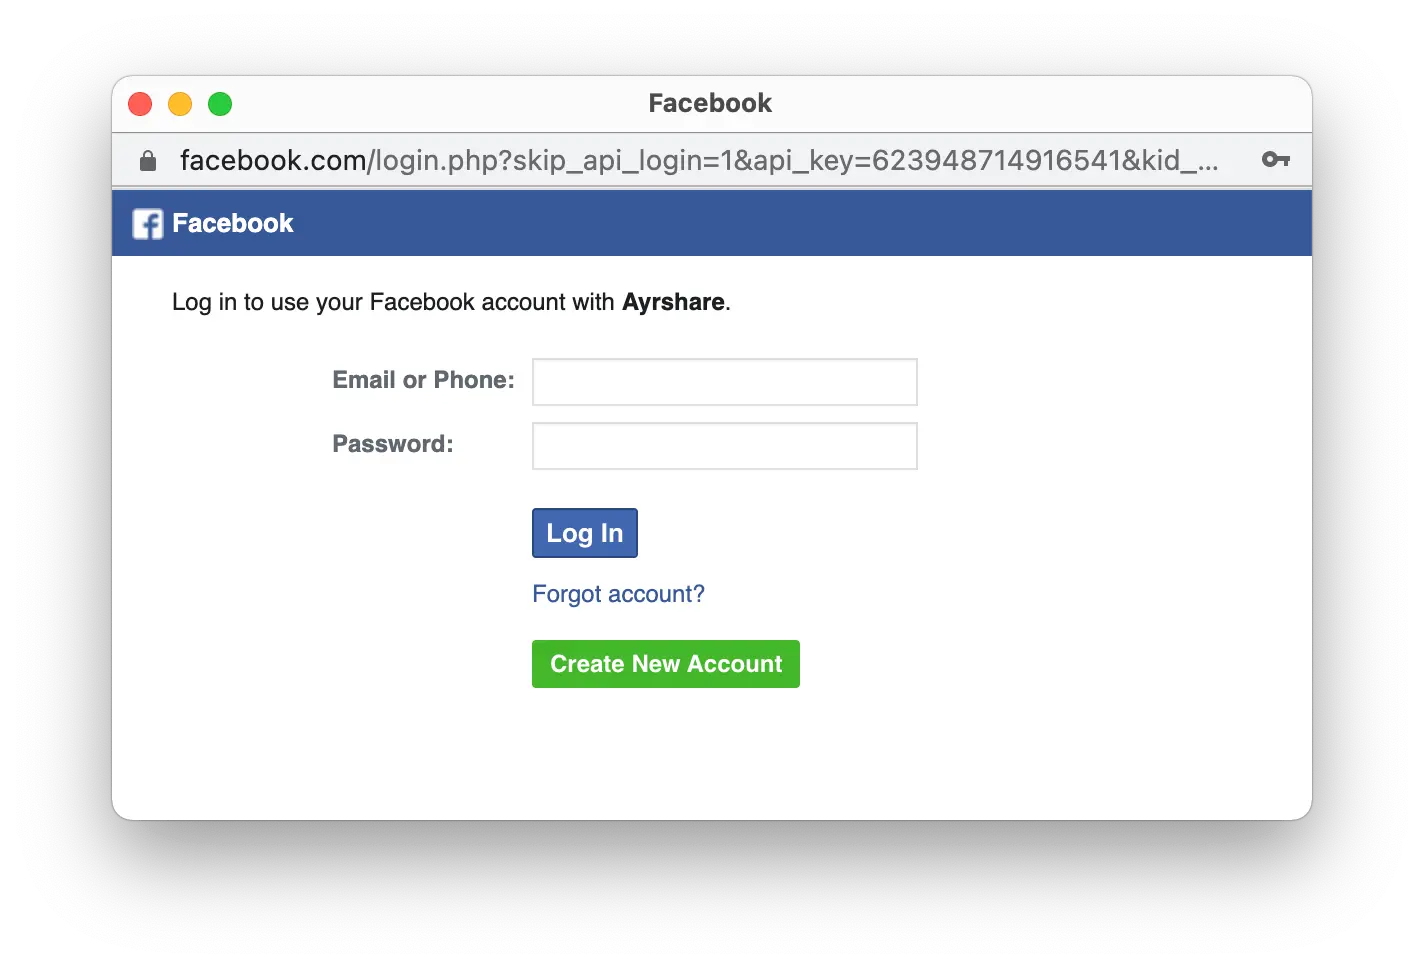
Quy trình liên kết Instagram này xác thực qua Facebook, vì vậy khi bạn
nhấp vào biểu tượng Instagram trên trang Social Accounts, một cửa sổ đăng nhập Facebook
sẽ hiện lên - *hãy chắc chắn bạn cho phép pop-up*.
Nhấp vào biểu tượng Instagram trên trang Social Accounts.
Lần đầu tiên liên kết Instagram, bạn sẽ được yêu cầu xác thực qua Facebook.
Nếu bạn đã kết nối Ayrshare với Facebook trước đó và không thấy hình ảnh này, hãy chuyển sang bước 3.
### Liên kết Instagram thông qua Facebook (yêu cầu Facebook Page)
Hãy chắc chắn bạn là admin của Facebook Page và **cấp toàn bộ quyền** cho
Pages, tài khoản Instagram và các lựa chọn. Việc không làm như vậy
có thể khiến bài đăng không thành công.
Quy trình liên kết Instagram này xác thực qua Facebook, vì vậy khi bạn
nhấp vào biểu tượng Instagram trên trang Social Accounts, một cửa sổ đăng nhập Facebook
sẽ hiện lên - *hãy chắc chắn bạn cho phép pop-up*.
Nhấp vào biểu tượng Instagram trên trang Social Accounts.
Lần đầu tiên liên kết Instagram, bạn sẽ được yêu cầu xác thực qua Facebook.
Nếu bạn đã kết nối Ayrshare với Facebook trước đó và không thấy hình ảnh này, hãy chuyển sang bước 3.
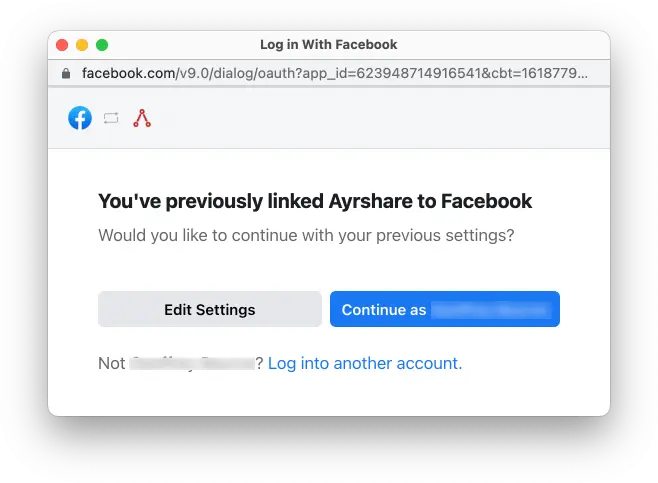
 Nhấp **Edit Settings** trong quá trình thiết lập ban đầu.
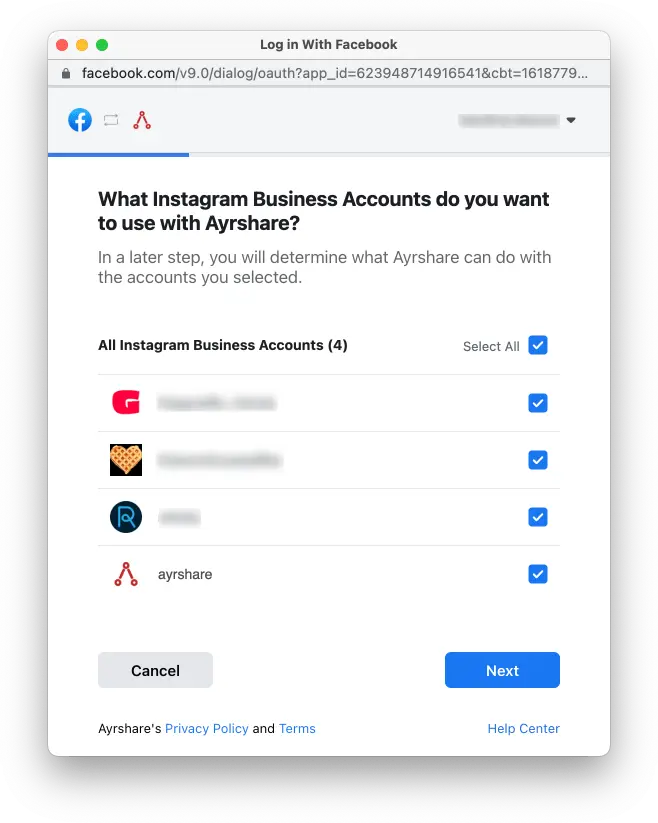
 Chọn tất cả **Instagram Business Accounts** hoặc **Instagram Creator Accounts**. Nhấp **Next**.
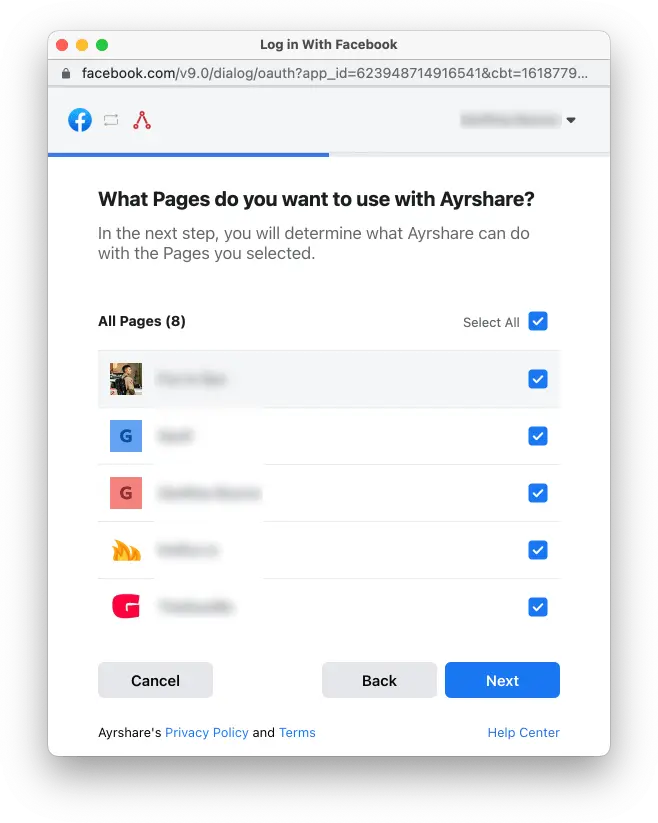
 Chọn tất cả **Facebook Pages**. Nhấp **Next**.
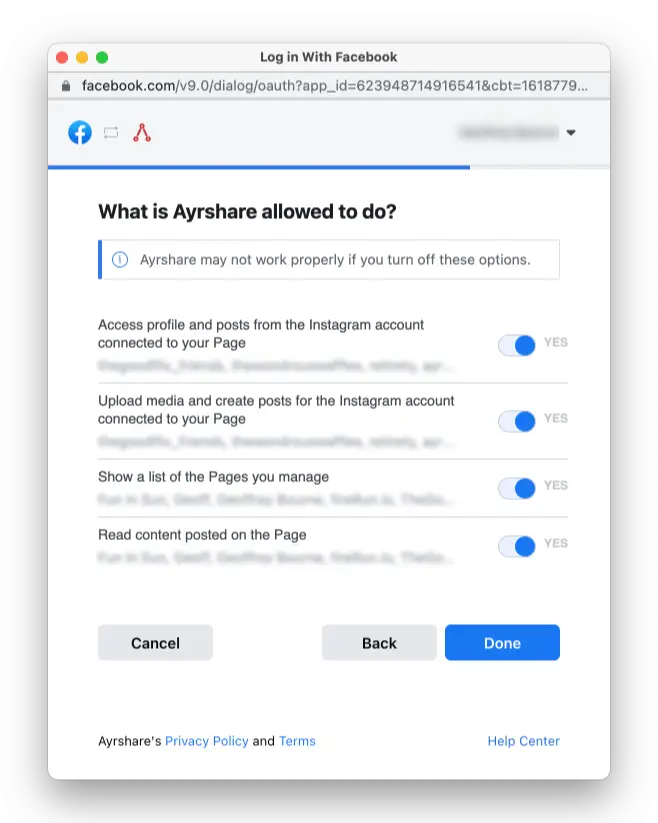
 Bật tất cả các quyền thành **Yes**. Nhấp **Done**. Sau đó bạn sẽ được yêu cầu
chọn một tài khoản Instagram cụ thể để liên kết với Ayrshare. Khi đã chọn, liên kết
sẽ hoàn tất và bạn có thể bắt đầu đăng bài lên Instagram.
Bật tất cả các quyền thành **Yes**. Nhấp **Done**. Sau đó bạn sẽ được yêu cầu
chọn một tài khoản Instagram cụ thể để liên kết với Ayrshare. Khi đã chọn, liên kết
sẽ hoàn tất và bạn có thể bắt đầu đăng bài lên Instagram.
 Trang Social Accounts của bạn giờ đã được cập nhật với tài khoản Instagram.
## Kích hoạt tài khoản Instagram Business hoặc Creator
Instagram yêu cầu tài khoản của bạn phải là tài khoản **Instagram Business** hoặc **Instagram Creator**.
Tìm hiểu thêm về [tài khoản Instagram Business và Creator](https://www.ayrshare.com/blog/understanding-the-difference-between-the-instagram-business-creator-and-personal-profiles/).
### Chuyển từ tài khoản cá nhân sang Business hoặc Creator
Nếu bạn có tài khoản Instagram cá nhân, hãy mở ứng dụng Instagram trên di động:
Trang Social Accounts của bạn giờ đã được cập nhật với tài khoản Instagram.
## Kích hoạt tài khoản Instagram Business hoặc Creator
Instagram yêu cầu tài khoản của bạn phải là tài khoản **Instagram Business** hoặc **Instagram Creator**.
Tìm hiểu thêm về [tài khoản Instagram Business và Creator](https://www.ayrshare.com/blog/understanding-the-difference-between-the-instagram-business-creator-and-personal-profiles/).
### Chuyển từ tài khoản cá nhân sang Business hoặc Creator
Nếu bạn có tài khoản Instagram cá nhân, hãy mở ứng dụng Instagram trên di động:
-
Vào hồ sơ của bạn và nhấn vào biểu tượng menu ≡ ở góc trên bên phải để chuyển
tới trang **Settings and activity**.
- Cuộn xuống mục **For professionals**.
- Nhấp **Account type and tools**.
- Nhấn **Switch to professional account**.
-
Thực hiện các bước để thiết lập tài khoản và chọn **Creator** hoặc
**Business**.
### Chuyển từ Business sang Creator hoặc ngược lại
Nếu bạn muốn chuyển từ tài khoản Business sang Creator hoặc ngược lại:
-
Vào hồ sơ của bạn và nhấn vào biểu tượng menu ≡ ở góc trên bên phải để chuyển
tới trang **Settings and activity**.
- Cuộn xuống mục **For professionals**.
- Nhấp **Creator (or Business) tools and controls**.
- Cuộn xuống và nhấn **Switch account type**.
- Chọn chuyển sang **Creator** hoặc **Business**.
Nếu bạn đã có tài khoản Business hoặc Creator, nhưng khi liên kết với Ayrshare
lại nhận được thông báo lỗi cho biết tài khoản của bạn không phải Creator hoặc Business,
hãy thử chuyển Instagram của bạn về **Personal** rồi quay lại **Creator** hoặc
**Business**. Điều này thường đặt lại loại tài khoản và cho phép bạn liên kết
với Ayrshare.
## Kết nối Facebook Page với Instagram
Nếu bạn đã có tài khoản Instagram Business hoặc Creator và muốn kết nối một Facebook Page, xem [hướng dẫn chi tiết](https://www.facebook.com/business/help/898752960195806).
Hoặc nếu bạn muốn [tạo một Facebook Page mới](https://www.facebook.com/pages/create/?ref_type=site_footer).
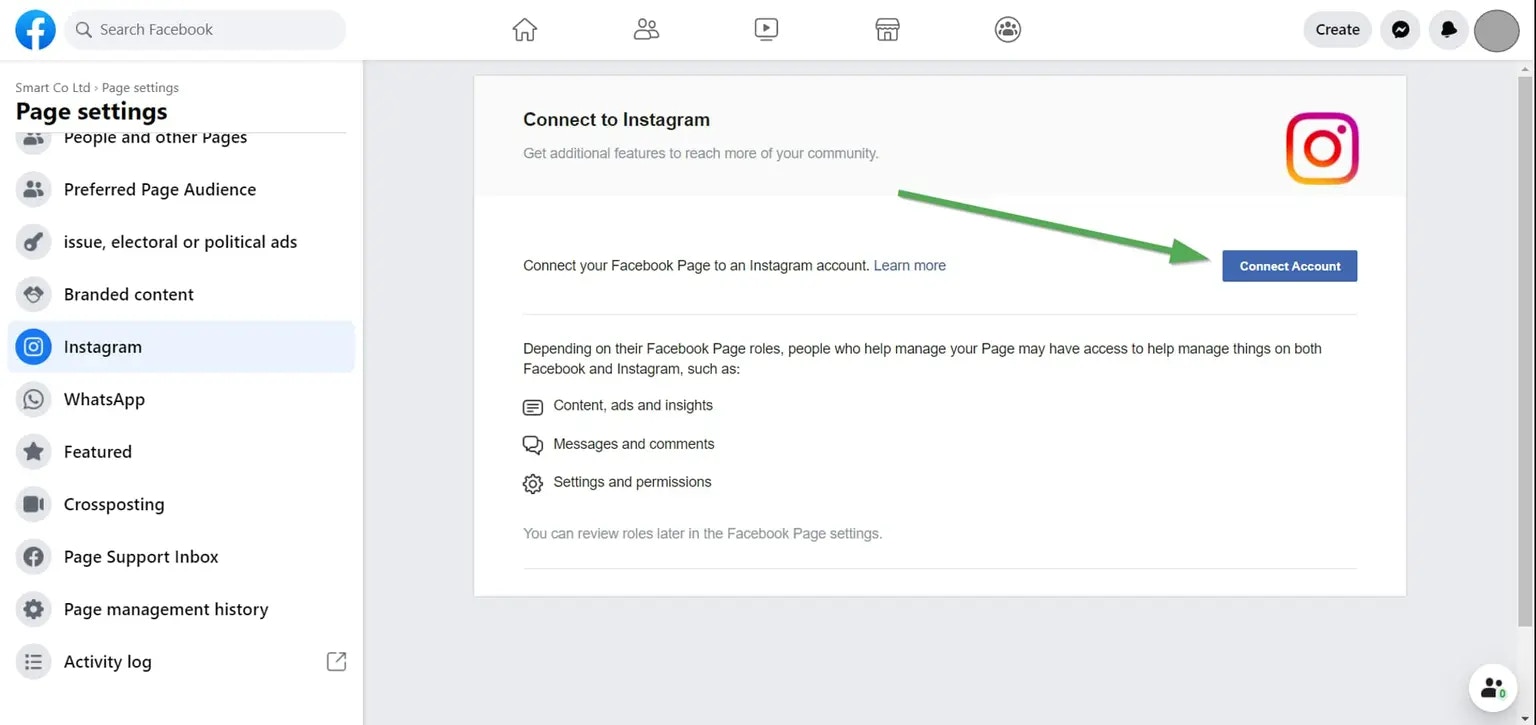
Bạn có thể kiểm tra xem đã có tài khoản Instagram liên kết với Facebook Page của mình chưa:
* Đăng nhập Facebook trên máy tính [www.facebook.com](http://www.facebook.com).
* Truy cập một trong các Facebook Page bạn là admin. Đây sẽ là trang mà bạn muốn liên kết với tài khoản Instagram.
* Trong bảng điều hướng bên trái, dưới mục "Manage Page", nhấp "Settings". Thường nằm ở dưới cùng.
* Trong Page Settings, nhấp "Instagram".
Tiêu đề phía trên sẽ hiển thị "Connected Instagram Account" nếu đã kết nối. Nếu chưa, bạn sẽ có thể kết nối một tài khoản.
 ## Xử lý sự cố Instagram
Nếu bạn gặp vấn đề với Instagram, vui lòng xem [hướng dẫn xử lý sự cố](/help-center/technical-support/facebook_or_instagram_linking_issues).
## Thông tin bổ sung về Instagram
Instagram có yêu cầu rất nghiêm ngặt về kích thước hình ảnh. Hình ảnh phải có chiều rộng ít nhất 1080 pixel với tỷ lệ khung hình từ 1.91:1 đến 4:5.
Ayrshare sẽ phát hiện nếu kích thước hình ảnh của bạn không đúng và phản hồi bằng thông báo lỗi.
* Vui lòng xem chi tiết về [đăng bài lên Instagram](/apis/post/social-networks/instagram), [lấy analytics](/apis/analytics/overview), [quản lý bình luận](/apis/comments/overview), hoặc [truy xuất lịch sử.](/apis/history/overview)
* Để biết thêm thông tin về kích thước hình ảnh được khuyến nghị, vui lòng xem:
## Xử lý sự cố Instagram
Nếu bạn gặp vấn đề với Instagram, vui lòng xem [hướng dẫn xử lý sự cố](/help-center/technical-support/facebook_or_instagram_linking_issues).
## Thông tin bổ sung về Instagram
Instagram có yêu cầu rất nghiêm ngặt về kích thước hình ảnh. Hình ảnh phải có chiều rộng ít nhất 1080 pixel với tỷ lệ khung hình từ 1.91:1 đến 4:5.
Ayrshare sẽ phát hiện nếu kích thước hình ảnh của bạn không đúng và phản hồi bằng thông báo lỗi.
* Vui lòng xem chi tiết về [đăng bài lên Instagram](/apis/post/social-networks/instagram), [lấy analytics](/apis/analytics/overview), [quản lý bình luận](/apis/comments/overview), hoặc [truy xuất lịch sử.](/apis/history/overview)
* Để biết thêm thông tin về kích thước hình ảnh được khuyến nghị, vui lòng xem: