> ## Documentation Index
> Fetch the complete documentation index at: https://www.ayrshare.com/docs/llms.txt
> Use this file to discover all available pages before exploring further.
# 使用者整合
> 如何與 Ayrshare 整合,讓你的使用者、客戶或品牌連結他們的社群媒體帳號。
Ayrshare 是以 API 為中心的平台,設計為在背景中低調運作。
你的使用者與 Ayrshare 介面唯一的互動,就是透過白牌社群連結頁面,你可用一組 [JWT URL](/multiple-users/api-integration-business#single-sign-on-with-jwt-authentication) 為他們開啟該頁面。
此流程對使用者而言設計為順暢輕鬆,不需要他們建立帳號或登入。
你的客戶不會存取 Ayrshare 儀表板——儀表板保留給你的
內部團隊使用。你可以 [白牌化連結帳號頁面](/multiple-users/manage-user-profiles#white-label-the-connect-accounts-page)
加上你的 logo、顏色、標頭等,讓它感覺就像你產品的原生功能。
Ayrshare 將你的每位使用者組織為一個 Ayrshare **使用者設定檔**。每個使用者設定檔對每個社群網路可以有一個連結。
## 使用者體驗
你的使用者將授權他們的社群媒體帳號(例如 Instagram 或 Facebook),以便你透過 Ayrshare 的 API 代為發文、取得分析等。**每個使用者設定檔對每個社群網路可以有一個連結。**
1. 在你的應用程式中,建立一個連結或按鈕,例如「連結你的社群帳號」,供使用者點擊以開啟社群連結頁面。
2. 當連結被點擊時,以 [/generateJWT 端點](/apis/profiles/generate-jwt) 所回傳的 URL 開啟新的瀏覽器分頁、視窗或 webview。
3. 社群連結頁面會顯示所有可用的網路,你可以 [控制](/multiple-users/manage-user-profiles#set-social-networks-access) 這些網路。頁面頂部會顯示你的品牌 logo。你可以 [自訂](/multiple-users/manage-user-profiles#user-profile-settings) 此頁面的許多面向,例如標題、說明連結與設定檔圖片。
4. 使用者選擇他們想要連結的社群網路,完成後點擊 All Done 按鈕關閉分頁。
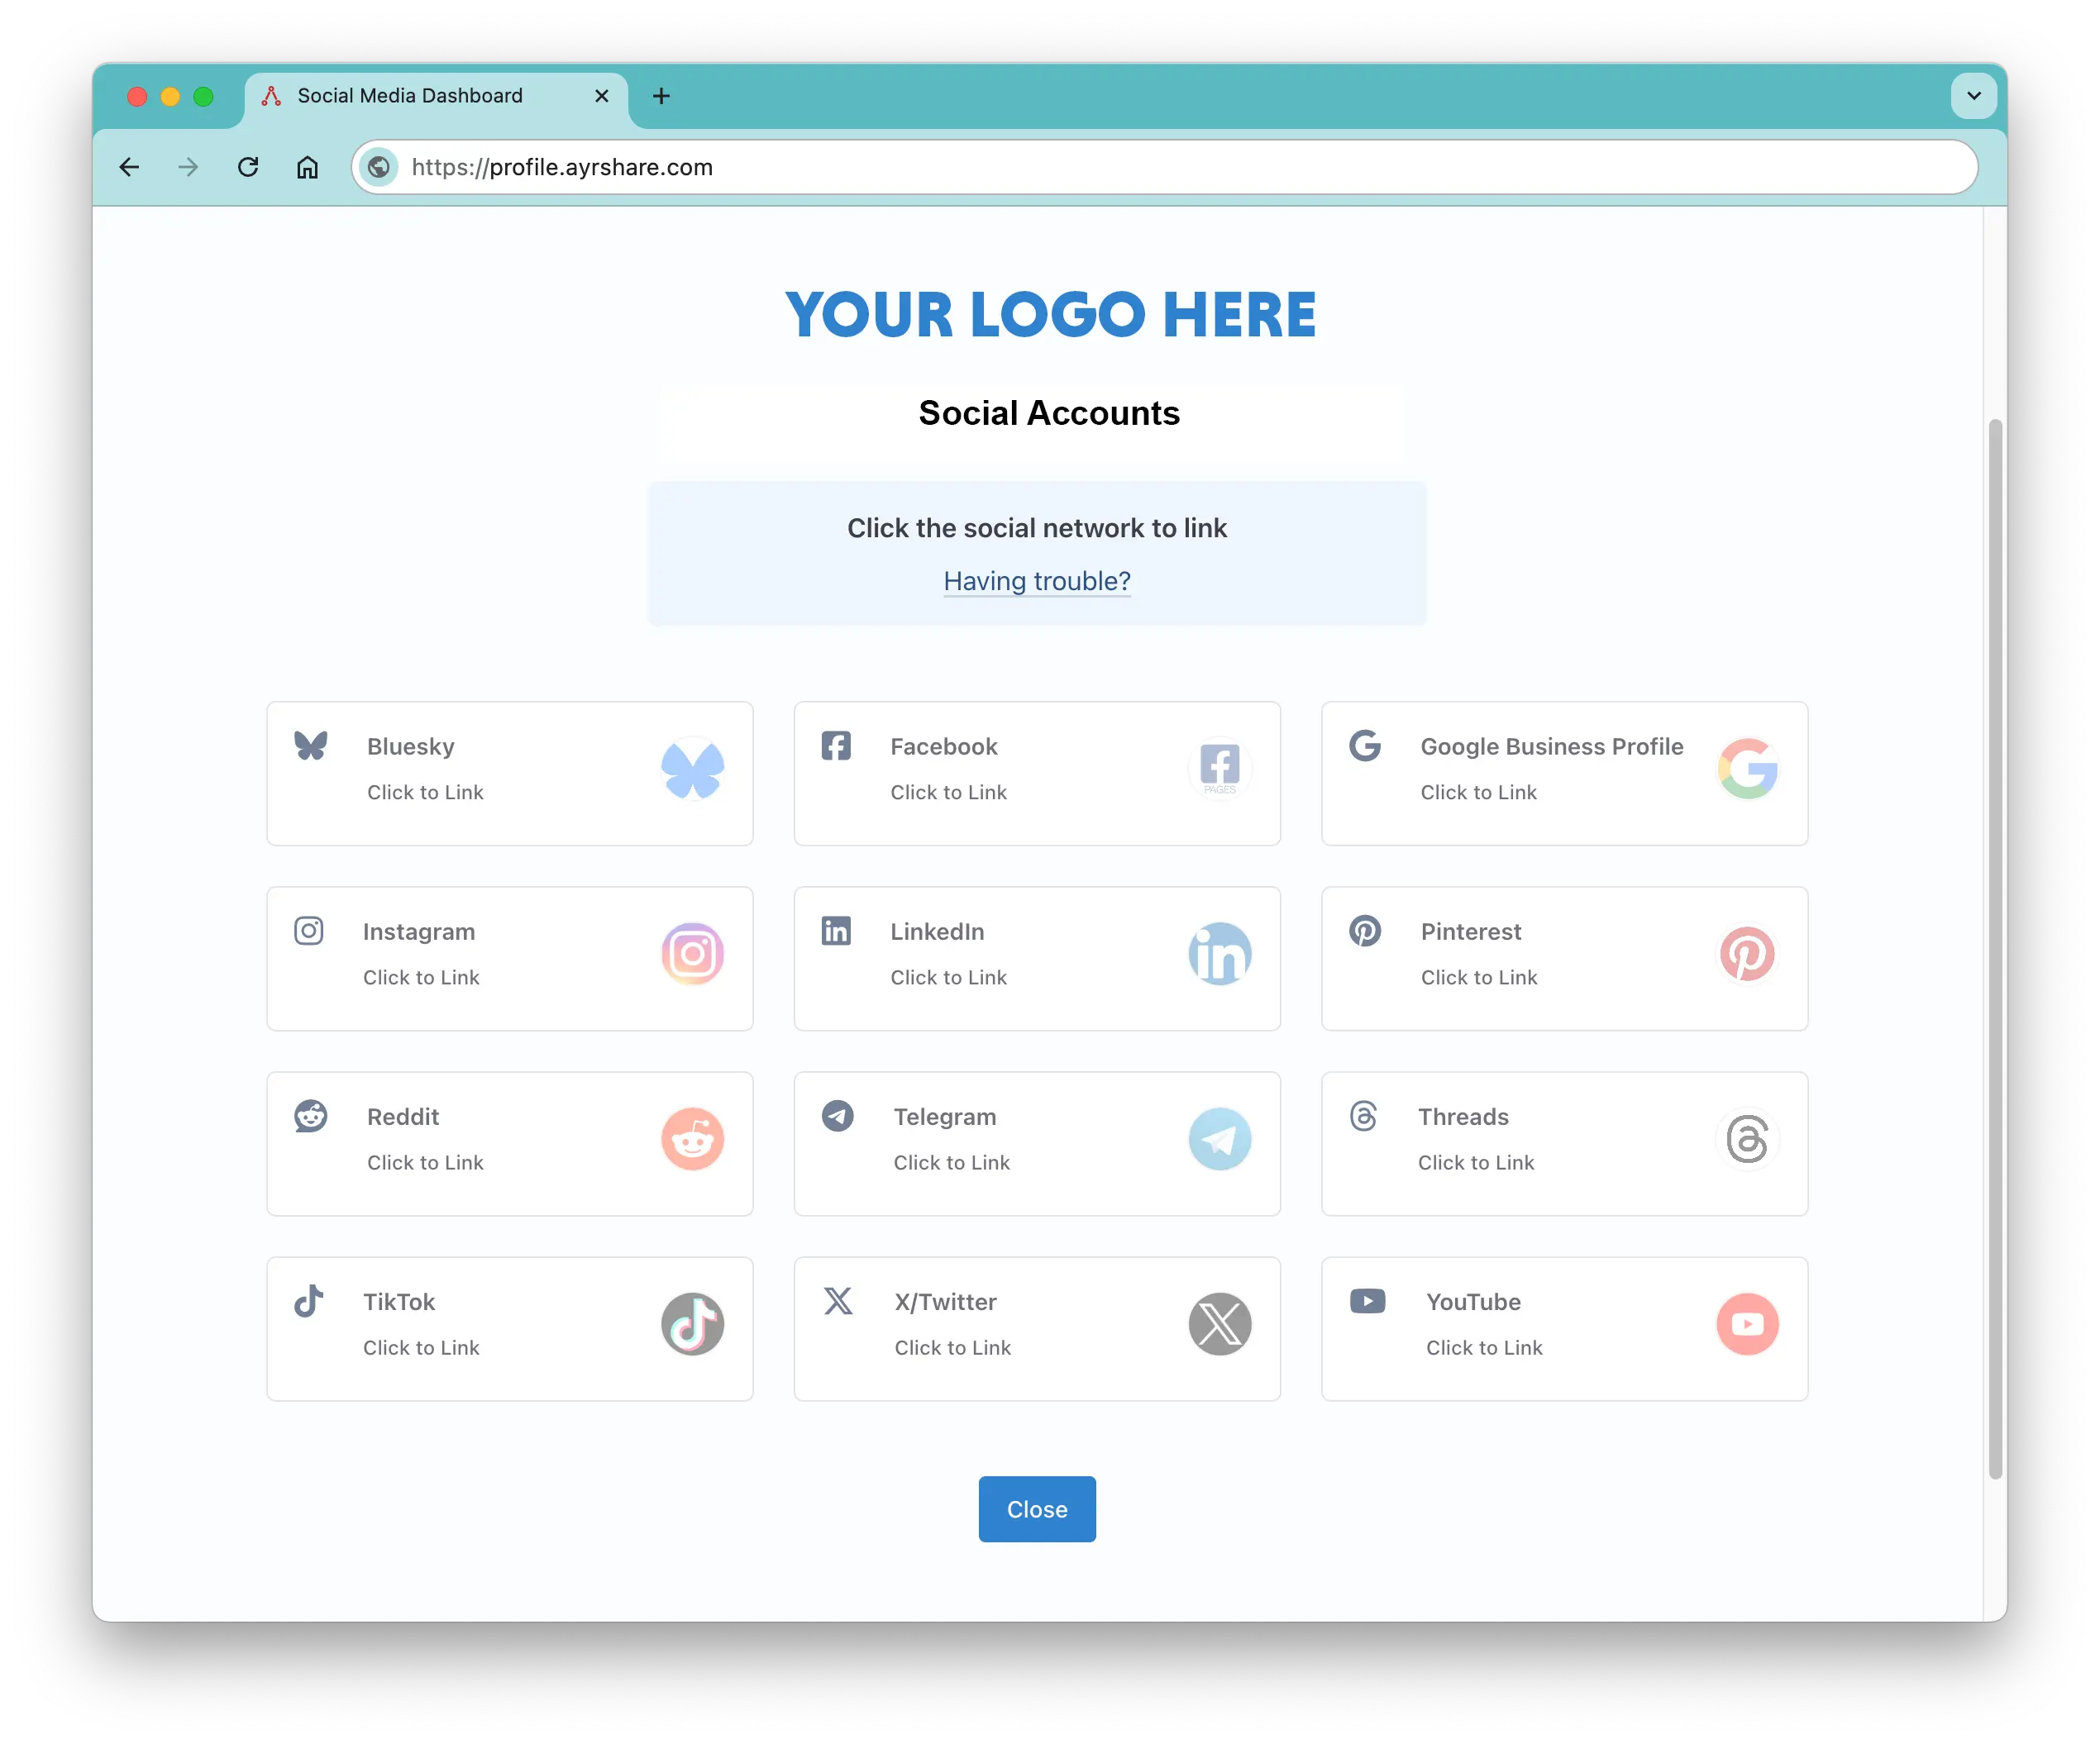
頁面頂部會顯示你的品牌 logo。
**從使用者的角度來看,他們已完成並成功連結社群媒體帳號**。只要幾次點擊,他們的社群媒體帳號就會被連結,你便可以代為發文。
在幕後,你會透過 API 或儀表板建立新的設定檔,收到用來代為發文的 Profile Key,並透過傳遞 JWT token 來執行單一登入以開啟上述社群連結頁面。
如何實作請參見下一頁 API Integration for Business。
## 社群連結頁面自訂
你可以為所有使用者或特定使用者,自訂社群連結頁面的許多部分。各區段的詳細資訊請見以下說明。針對 Business 與 Launch 方案(有/無 Max Pack)也有各自的詳細資訊。
### Business 方案與 Launch 方案的自訂
-
加入你自己的 [公司
logo](/multiple-users/manage-user-profiles#update-logo-on-social-linking-page) 或完全移除。詳情請參閱你的導入整合指南。
-
選擇使用者可存取哪些社群網路,可 [全域](/multiple-users/manage-user-profiles#set-social-networks-access) 或在 [使用者設定檔層級](/apis/profiles/overview#enable-or-disable-social-networks) 進行設定。
-
移除說明頁面連結,並 [新增你自己的說明頁面](/multiple-users/manage-user-profiles#help-links-visible)。
-
設定關閉社群連結頁面時的 [頁面重新導向](/multiple-users/api-integration-business#opening-and-closing-the-social-linking-url)。
-
設定社群連結頁面上的 [頂部與副標題](/apis/profiles/create-profile)。
你可以顯示使用者的名稱、他們的商家、其他訊息,或完全移除。
### Business 方案與 Launch 方案的 Max Pack 自訂
-
使用你自己的 [自訂 CSS 檔案](/multiple-users/manage-user-profiles#customize-css) 個人化社群連結頁面的外觀——修改顏色、字型並控制要顯示哪些功能。
-
透過為社群連結頁面加入你自己的 [favicon 與標題](/multiple-users/manage-user-profiles#change-page-title-close-button-and-favicon) 自訂瀏覽器分頁。
-
編輯社群連結頁面上的 ['Close' 按鈕文字](/multiple-users/manage-user-profiles#change-page-title-close-button-and-favicon)。
-
使用文字或 HTML 為社群連結頁面加入 [自訂頁尾內容](/multiple-users/manage-user-profiles#footer-text) —— 非常適合用於版權聲明或網站連結。
-
設定 staging 伺服器環境,以實際社群帳號進行測試,最多可達方案的使用者設定檔上限。
**Business 方案** 與 **Launch 方案** 的客戶可購買 [Max Pack](/additional/maxpack) 以取得更多自訂選項。
**Enterprise 方案** 客戶可獲得 [進階功能](/multiple-users/manage-user-profiles#enterprise-features)。